
Project: Rain Ring Addon to Brew Buddy
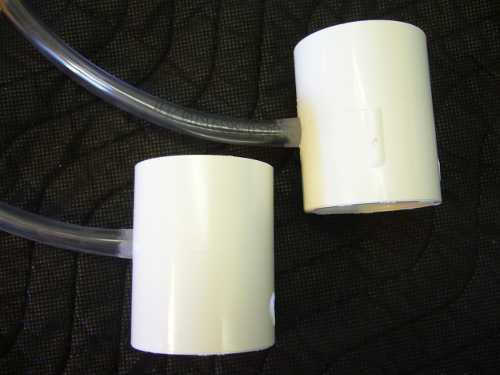
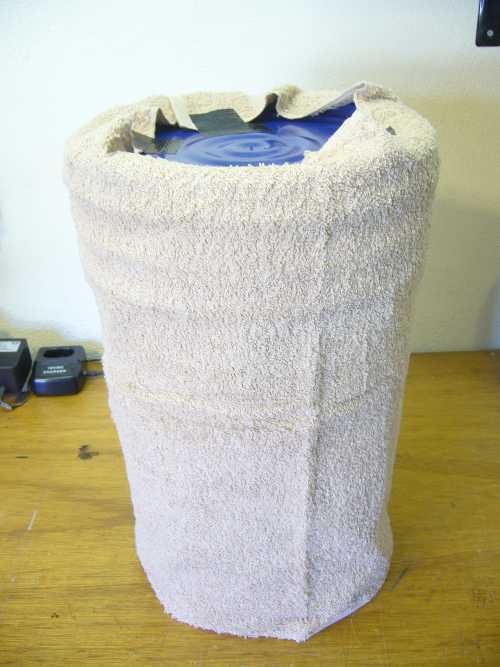
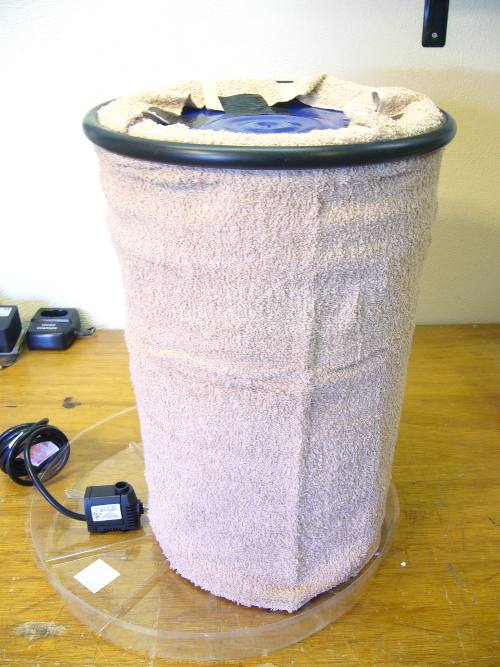
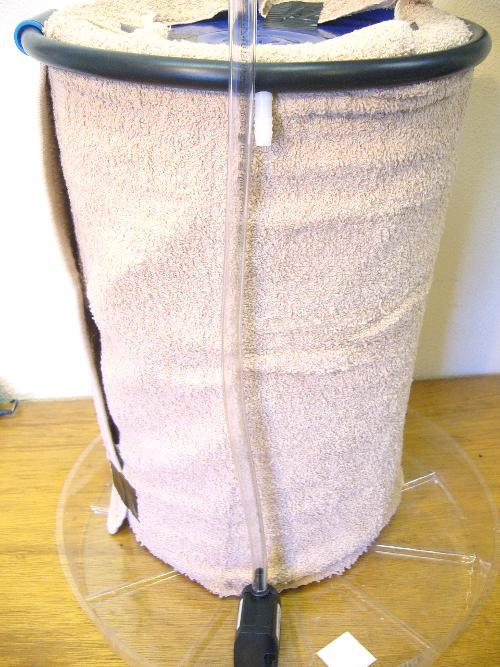
If you've been using the Hot Weather Brew Buddy you may have noticed the top of your towel will sometimes dry out. This easy-to-build project will keep your towel soaking wet from top to bottom. This is how the Rain Ring looks when paired with the Hot Weather Brew Buddy:
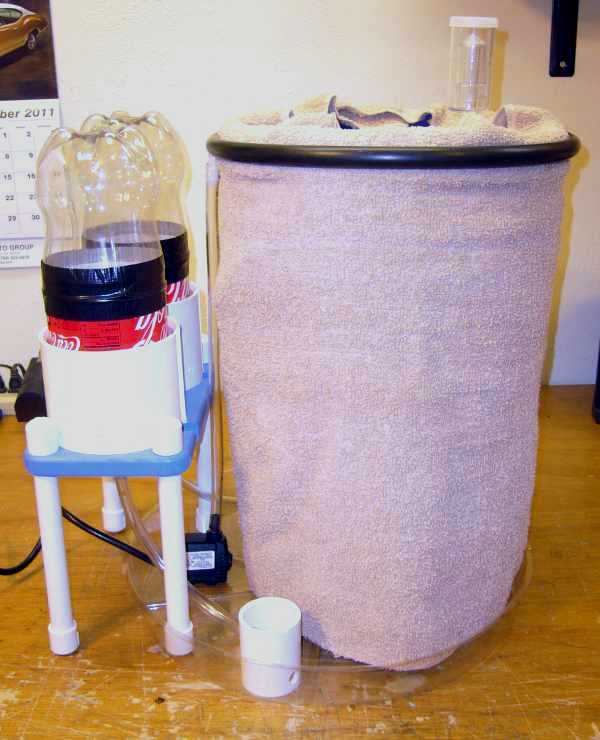
How it works:
Instead of relying on the towel to soak up the water and keep it wet all the way to the top, plastic tubing connected to a small fountain pump gently sprays water all around the top of the towel, keeping it soaking wet. Varying the amount of air blowing over the bucket allows for a certain amount of temperature control.
Parts List:
| Quantity | Description | Photo |
|---|---|---|
| 2 | 1 1/2" PVC Couplers Optional, see text | 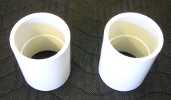 |
| 1 | 50-80 GPH Fountain Pump | 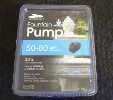 |
| 2' | 1/2" OD x 3/8" ID Vinyl Tubing | 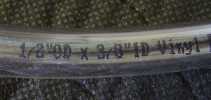 |
| 4' | .710" OD Irrigation Tubing | 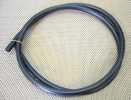 |
| 1 | .710" OD Tubing Coupler | 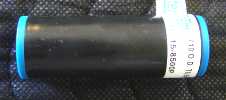 |
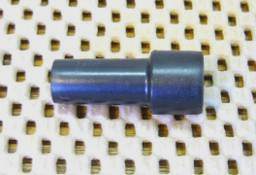
| 1 | 3/8" x 3/8" Nylon Barb Coupling | 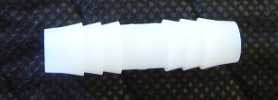 |
| Epoxy (6 Minute GEL) | 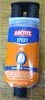 | |
Tools:
- Power Hand Drill
- Utility Knife
- Forstner Bits (3/8" & 1/2") or a Step Drill
- Drill bit (1/16")
- Sand paper
- Tape Measure
- Grease Pencil
- Sharpie
Instructions:
I suggest you read through the directions before beginning so you are familiar with what needs to be done. Then go back and follow each step as you build your Rain Ring Addon to the Hot Weather Brew Buddy.
IMPORTANT: Take proper safety precautions. Always use goggles and hearing protection when using power tools. Follow all tool manufacturer's safety instructions.
If you are adding this Rain Ring onto a Hot Weather Brew Buddy that has the 2" and 1 1/2" PVC end caps, perform the next series of steps. Otherwise jump here.
This modification causes the water level in the tray to be higher, which is required to keep the fountain pump submerged.
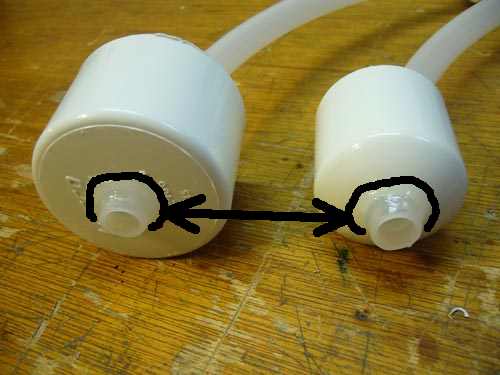
Remove the 2" and 1 1/2" PVC end caps from the end of the tubing leading from the 2 liter bottles. Use a saw, such as a hacksaw, to cut off the portion of the tube that protrudes from the end of the end caps:
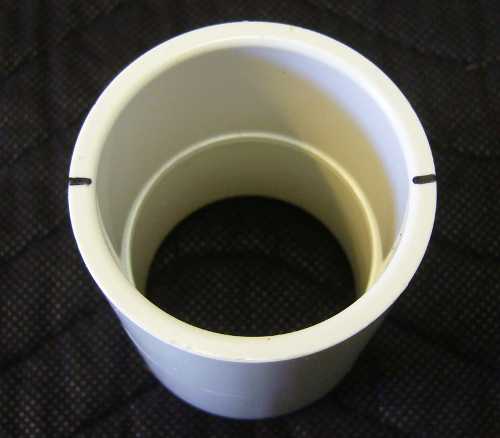
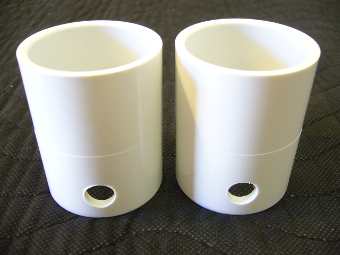
Using a sharpie pen, make two small marks on one edge of both 1 1/2" PVC couplers, like this:
On one of the couplers, measure down from one mark 1/2" and from the other mark measure down 1 3/8". Mark these locations with your sharpie:
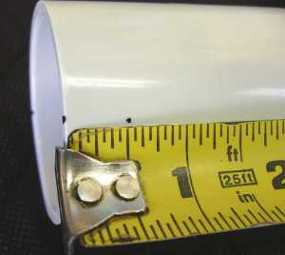 1/2" from one mark | 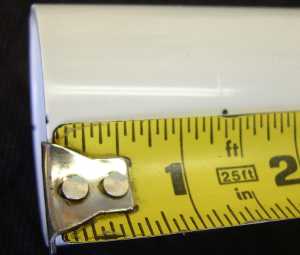 1 3/8" from the other mark |
On the second coupler, measure down from one mark 1/2" and from the other mark measure down 1 9/16". Mark these locations with your sharpie:
1/2" from one mark | 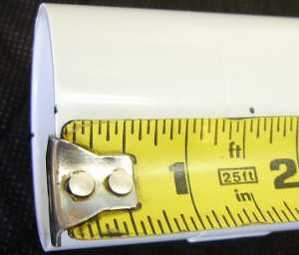 1 9/16" from the other mark |
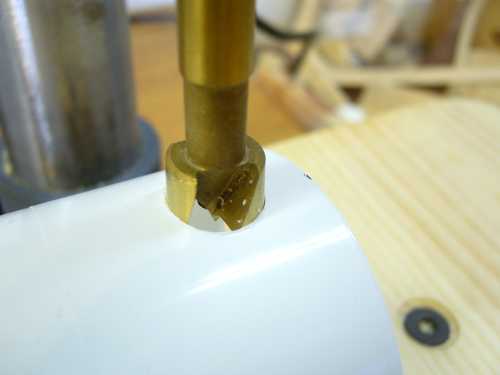
Now we need to drill 1/2" holes at the two spots we marked on each PVC coupler. We'll be drilling a total of four 1/2" holes. I used a 1/2" forstner bit in a drill press, but you can easily do this with a step drill. Just drill a 1/8" pilot hole at each dot, first:
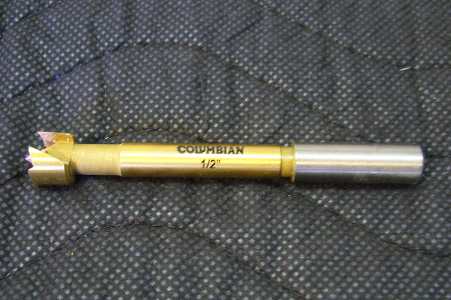 1/2" Forstner bit | 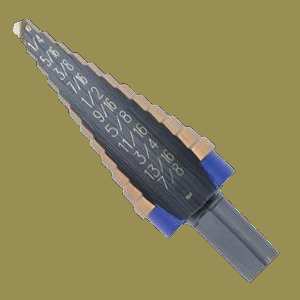 Step Drill bit |
When you're done the PVC couplers will look like this:
 Front | 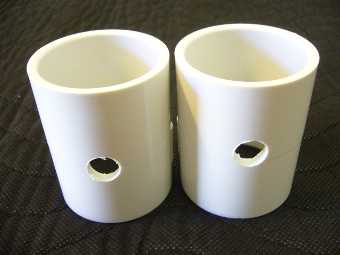 Back |
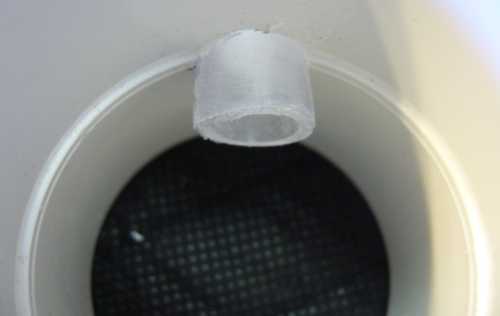
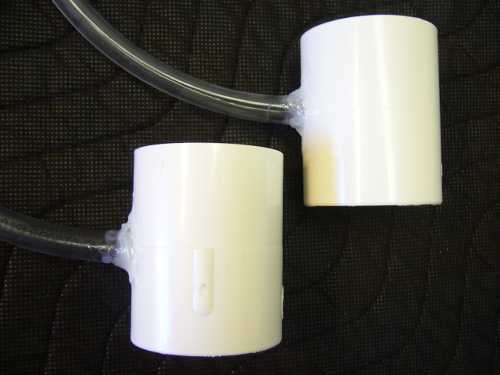
Now we just have to epoxy the tubing to the PVC couplers. Rough up the last inch of tubing, and around the holes in the back of the couplers, with sandpaper. Push the tubing through the holes in the back of the couplers. The correct holes are near the middle of the couplers (right photo, above), not the ones close to the edge. The tubing only needs to poke through about 1/4", like this:
The natural curve of the tubing should be up. Notice the position of the holes on the front (right side in this photo) of the PVC couplers. Make sure your couplers look like this before proceeding:
Mix up a small amount of epoxy in the bottom of a paper cup. I clean and save used popsicle sticks for this purpose, but any small strip of wood will work. Coat the outside only, where the tubing enters the PVC coupler, with epoxy. When you're done, they should look like this:
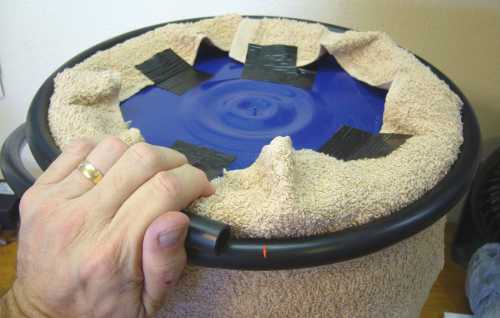
Wrap the towel you normally use around your fermenting bucket. Make sure the lid of the bucket is snapped securely onto the bucket. This ensures that all the measurements are correct. Tape the towel to the lid to keep it in place while we work.
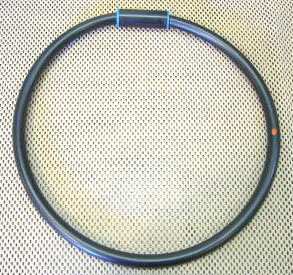
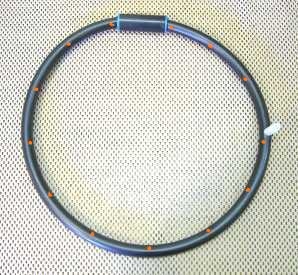
Wrap the .710" OD Irrigation Tubing around the very top of your fermenting bucket. Make a mark with the grease pencil about one inch from the end of the tubing, like this:
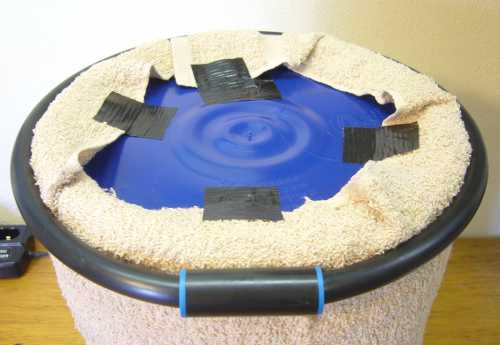
Cut the tubing on that mark with the utility knife. Insert both ends evenly into the .710" OD Tubing Coupler. Do not push the tubing in as far as it will go, as that might make the ring too small to fit onto the bucket. Instead, push the tubing in each side a little at a time, checking the size as you go. When you're done, it should fit snugly around the top of the bucket and look like this:
Place the ring on the table and make a mark with a grease pencil where indicated. This is where we will be connecting the ring to the fountain pump:
 | 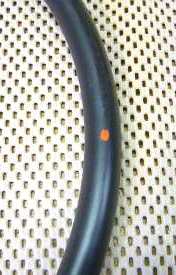 |
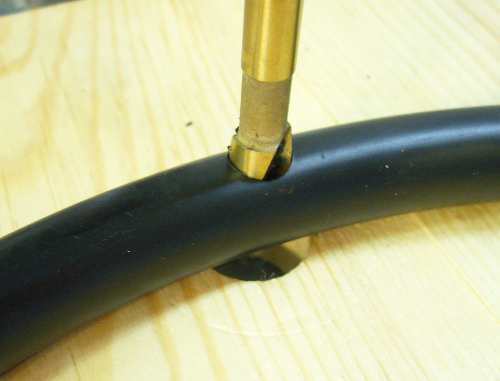
Carefully drill a 3/8" hole where the mark is. Don't let the drill bit puncture the other side. I used a 3/8" Forstner bit in a drill press but a standard 3/8" twist drill bit in a hand drill will do the job. Just drill a 1/8" pilot hole, first.
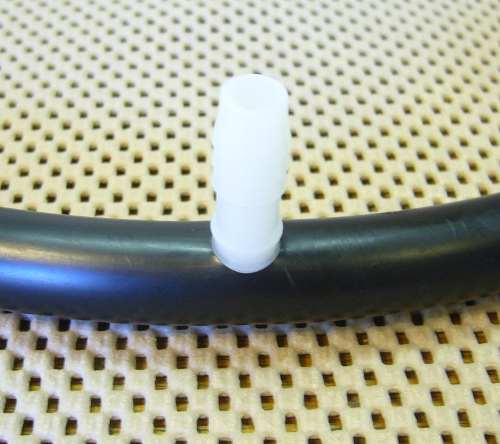
Press the 3/8" nylon barb into the hole you just drilled. This is where the tubing will attach that supplies water from the foundain pump to the ring:
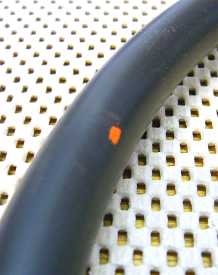
Starting just to the left of the coupler, make marks with a grease pencil, about 3" apart, all the way around the ring. You should end up with about 13 marks. Notice from the close-up photo that the marks are half way between the top of the tubing and the inside of the tubing. This will cause the water to spray inward, onto the towel:
 |  |
We need to make sure we don't drill all the way through the tubing when we drill the small holes, so we'll use a small piece of tape to prevent the drill from going into the tubing too far. Wrap the tape around a 1/16" drill bit, leaving no more than 1/4" of the tip exposed:
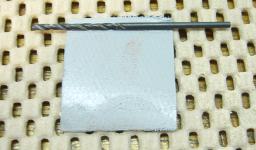 | 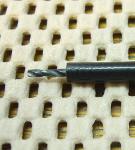 | 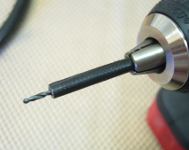 |
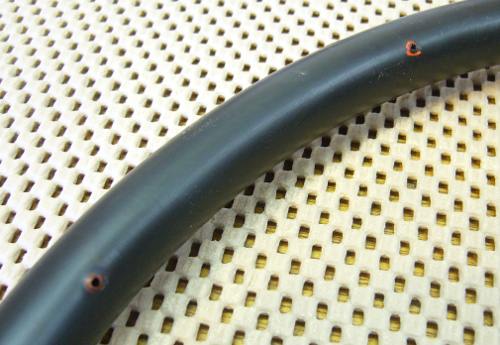
Carefully drill the 13 small holes where the marks are:

Here's a close up of a couple of holes:
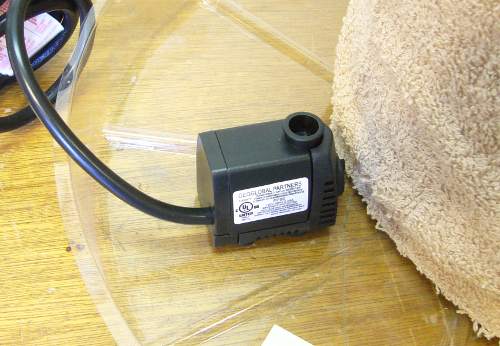
Open up the fountain pump and place it in the water tray next to the bucket, like so:
The flow rate of the fountain pump is adjustable. Set it on the highest setting (Left Photo):
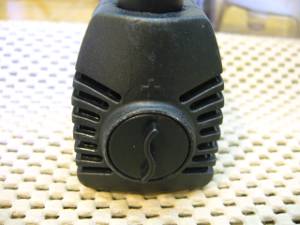 High Flow | 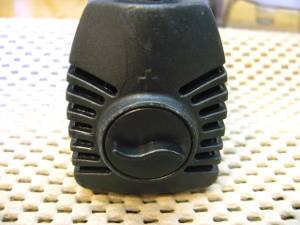 Low Flow |
There should be two tubing adapters in the package, one for 3/8" ID tubing and one for 1/2" ID tubing. We'll be using the smaller of the two, since we're using 3/8" ID tubing. Slide the adapter into one end of the tubing:
 | 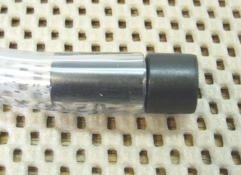 |
Fit the ring over the top of the bucket. The coupler should be in the back and the 3/8" Nylon Barb should be above the fountain pump, on the left, and pointing down:
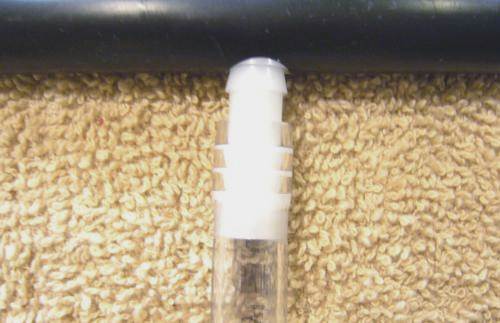
Insert the end of the tubing with the adapter into the top of the fountain pump and hold the tubing next to the 3/8" nylon barb:
Mark the tubing just above the barbs with a grease pencil:

Carefully cut the tubing with a utility knife, and slide it over the barb:
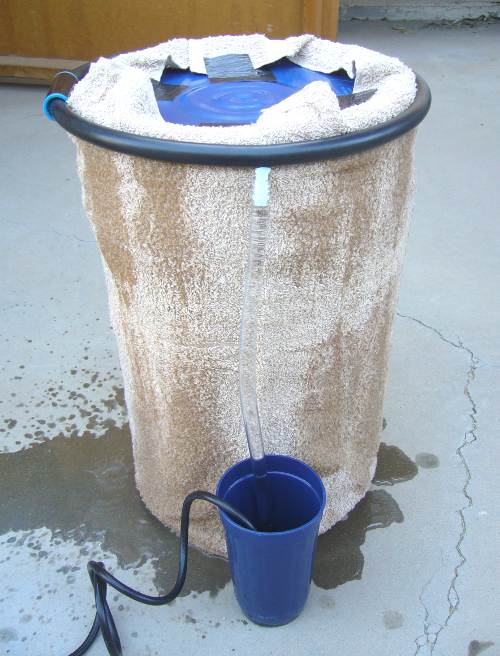
That completes fabrication of the Rain Ring Addon to the Hot Weather Brew Buddy:
Now we need to test the Rain Ring. Place the Rain Ring outside on a patio or sidewalk. Put the fountain pump in a large plastic cup and fill the cup with water. Have another cup of water handy to replenish the water covering the pump:
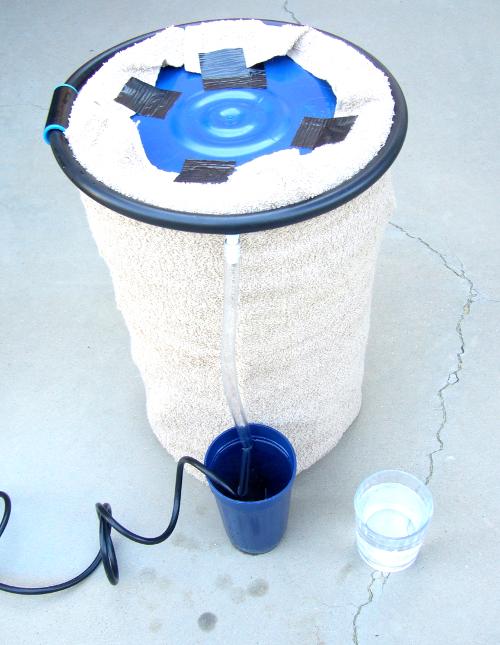
Plug the fountain pump into a 110V AC grounded outlet. The water will begin spraying onto the towel. Add water to keep the pump submerged. Running the pump without water can damage it. When the water level reaches the top of the pump, unplug it:
If it's working properly, every place there is a hole in the Rain Ring, the towel should be getting sprayed with water. If not, make sure the holes were drilled properly. If it seems to be spraying too hard, refer to the photos of the flow adjustment knob, above, and back the flow off a bit.
When you use the Rain Ring with your Hot Weather Brew Buddy for the first time, place the fermenting bucket with towel and Rain Ring into the dry water tray. Fill the tray with about 1.5" of water. Fill the water bottles and holding your finger over the end of the tubing, place them in their holder. When the bottles stop filling the tray to its final water level, plug in the fountain pump. In just a few minutes the towel will become soaking wet. The bottles will immediately begin replacing the water that gets sucked into the ring and the filler tube. When the entire system stabalizes, top off the bottles and let your prized beer ferment. Check the system at least once a day until you get a feel for how long it will go before the bottles need refilling. The temperature can be adjusted somewhat by regulating the amount of air blowing on the bucket. The more air, the lower the temperature. Good luck and happy brewing!