
Project: Make A Tower Cooler
The Finished Project:
The End Result:
Unfortunately heat rises, right into the top of your Kegerator's tower. That trapped pocket of warm air will just stay there because there is nothing to move it out of the way. The warm air will cause the beer in the tubing to warm up and release it's CO2. So your first beer of the day is warm and foamy. Yuck! This simple tower cooler solves that problem.
How it works:
The thin, high airflow blower pulls cold air in from the bottom of your Kegerator and forces it through vinyl tubing to the top of the tower. The cold air pushes that warm air back down the tower where it is once again cooled. This continuous cycle will keep your beer cold, first beer to last.
Parts List:
| Quantity | Description | Photo |
|---|---|---|
| 1 | High Airflow Cooling Blower | 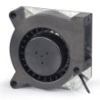 |
| 2 | 4" strips of Velcro | 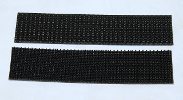 |
| 1 | 3 1/8" x 1 1/4" x 1/8" piece of scrap hardboard or plastic |  |
| 3' | 3/4" OD x 5/8" ID vinyl tubing | 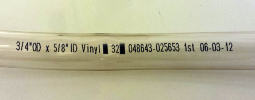 |
| 1 | Epoxy for plastic |  |
| 6' | Lamp cord (You may need more than 6' depending on how far your Kegerator is from an outlet) | 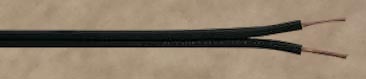 |
| 2 | Small wire nuts | 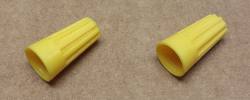 |
| 1 | Snap-on 110V AC plug | 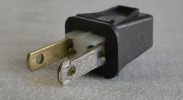 |
| 2 | M4 x 12mm Philips Head Machine Screws | 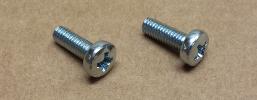 |
| 2 | M4 x 12mm Fender Washers | 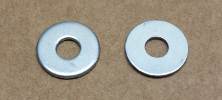 |
Tools:
- Hand Saw
- Power Hand Drill
- 3/4" Hole Saw Bit
- 5/32" Drill Bit
- #2 Philips Screwdriver
- Utility Knife
- Tape Measure
- Sharpie
Instructions:
I suggest you read through the directions before beginning so you are familiar with what needs to be done. Then go back and follow each step as you build your Tower Cooler.
IMPORTANT: Take proper safety precautions. Be careful to not cut yourself or your work surface when using a utility knife or power tools. Wear safety goggles when using power tools. Do not plug the Tower Cooler into a 110V AC Outlet unless all connections have been properly made. Make sure the wire nut connections do not get wet. If they do get wet, unplug the Tower Cooler immediately!
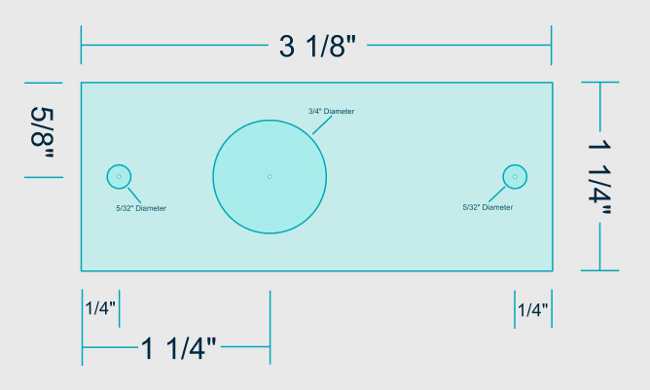
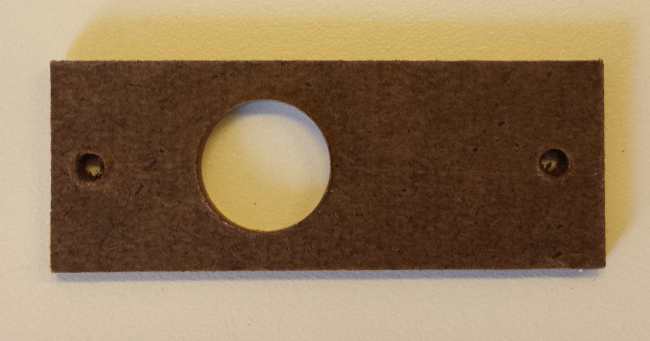
Cut and drill the blower tubing plate from a piece of scrap hardboard or plastic using this diagram:
I used a piece of whiteboard scrap from the Kegerator build.
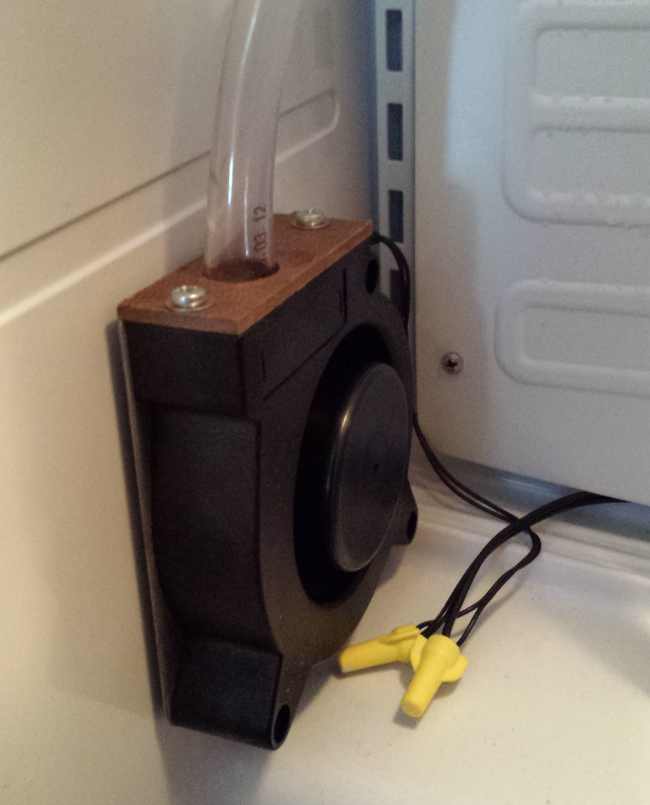
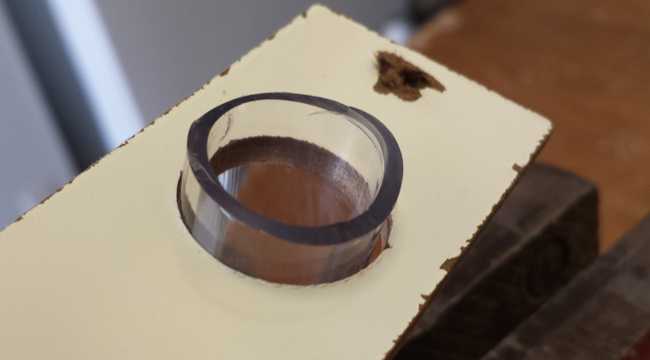
Push one end of the tubing through the "good" side of the plate about 5/8":
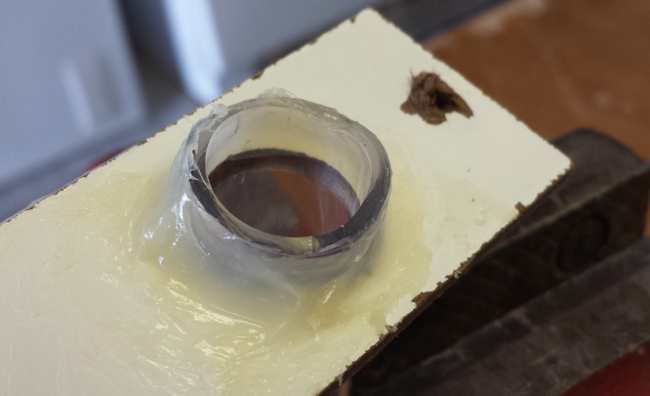
Epoxy the tubing in place on the "bad" side of the plate. Let harden:
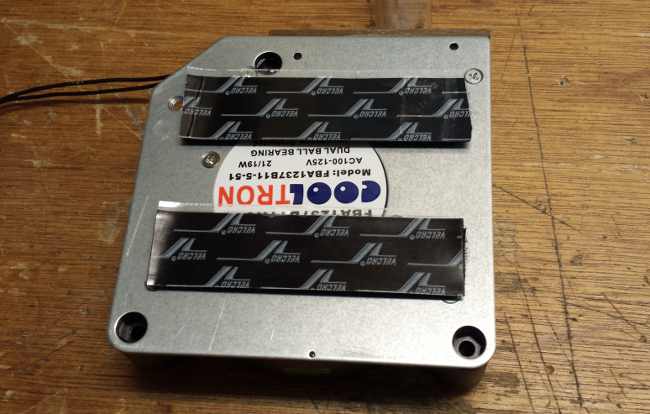
Attach two strips of velcro on the metal plate side of the blower:
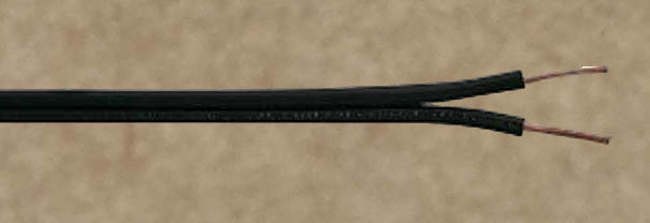
Strip 1/2" of insulation from one end of the lamp cord:
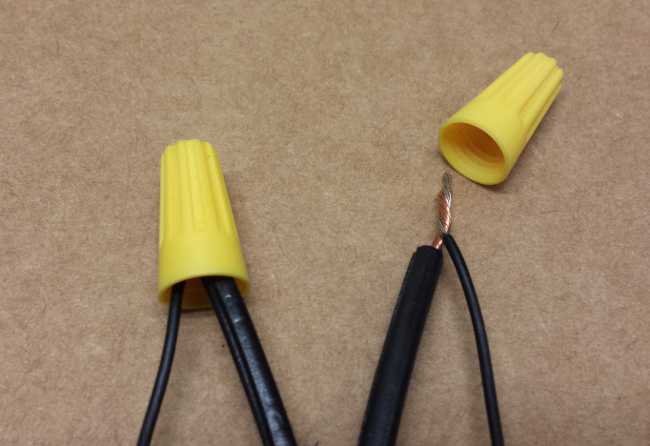
One at a time, twist a wire from the blower together with the wire from the lamp cord. Twist a wire nut onto each connection:
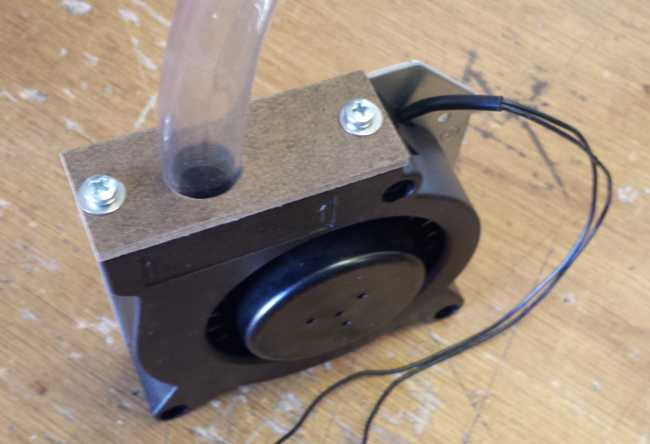
Screw the plate onto the blower with the machine screws and washers. Make sure the tubing is on the left end of the blower to maximize airflow:
If you have any kegs in the kegerator, now would be a good time to remove them :-)
locate a convenient place on the left or right wall of the kegerator to attach the blower. I have my CO2 canister on the right, so I stuck the blower on the left.
Remove the protective coating from the velcro and stick the blower to the wall:
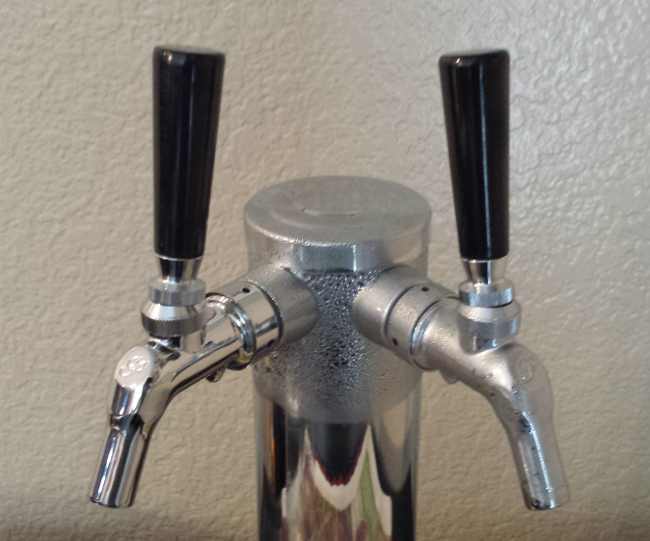
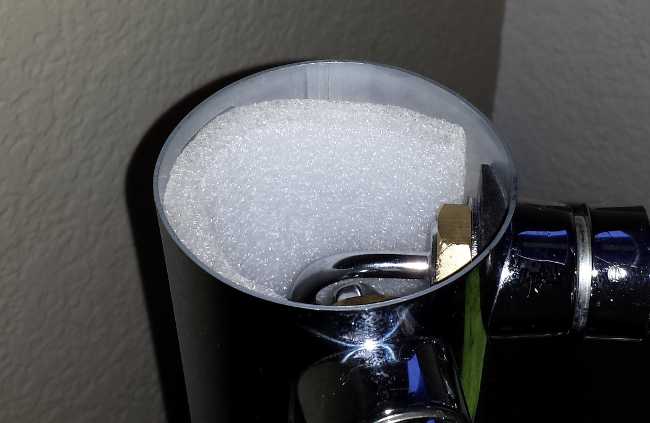
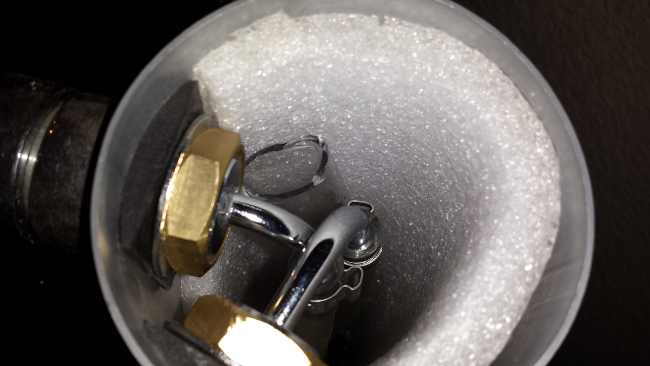
Remove the top cap from the tower. Remove the disk of insulation.
Feed the end of the tubing up through the bottom of the tower. Make sure the tubing does not collapse or flatten out, as that will impede the air flow. The tubing should extend past the top of the tower. Mark the tubing with a Sharpie about 1" below the top of the tower:
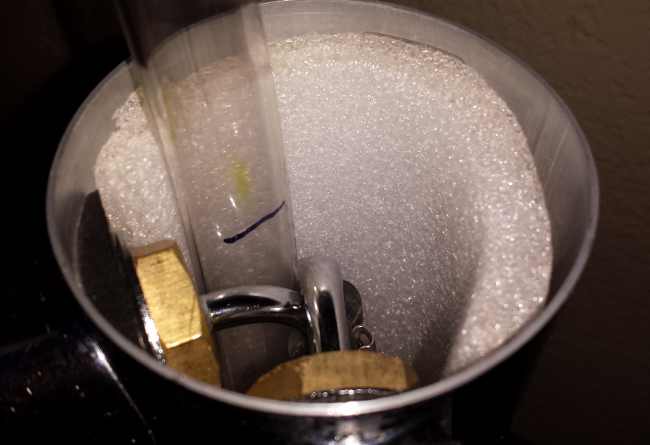
Remove the tubing and cut it on the mark. Feed it back up through the bottom of the tower. It should stop about an inch below the top of the tower:
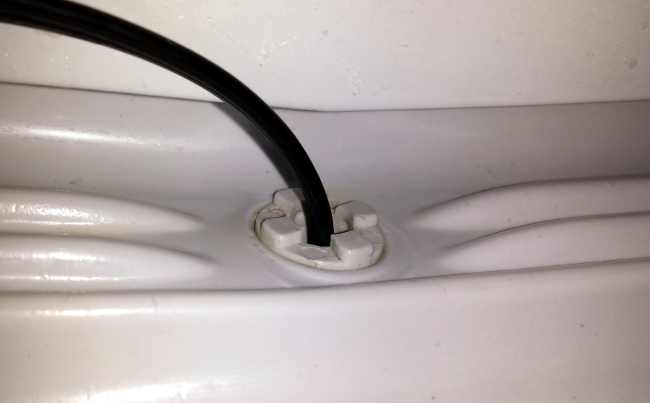
Feed the lamp cord through the drain hole. You should be able to pull it out the back of the kegerator.
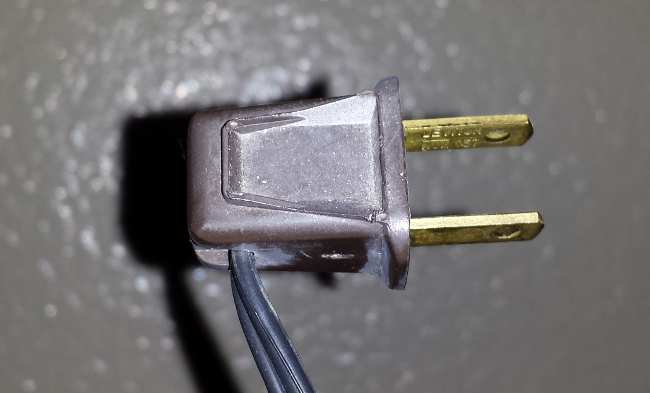
Attach the plug to the end of the lamp cord.
Plug it in! You should feel cold air coming out the top of the tower. Replace the insulation disk and top cap on the top of the tower. You're done. In no time your tower will look frosty cold, like this: