
Project: Build a Kegerator
I finally decided to bite the bullet and start kegging my home brew. I studied several sites and was able to compile a lot of useful information before beginning. I hope this page will guide you through the kegerator build process and leave you with a prefessional, almost commercial grade kegerator. This is exactly how I built mine, and I couldn't be happier with the results!
Parts List:
| Quantity | Description | Photo |
|---|---|---|
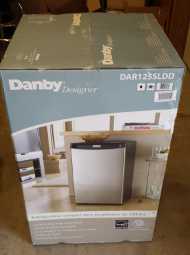
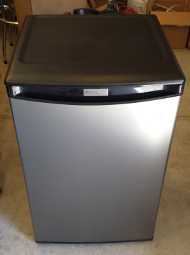
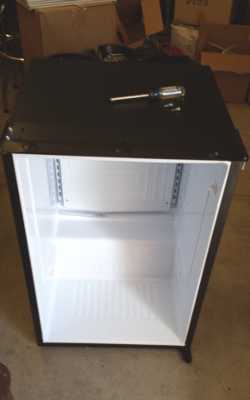
| 1 | Danby DAR044A5BSLDD (Current model) 4.4 cu. ft. Refrigerator | 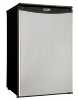 |
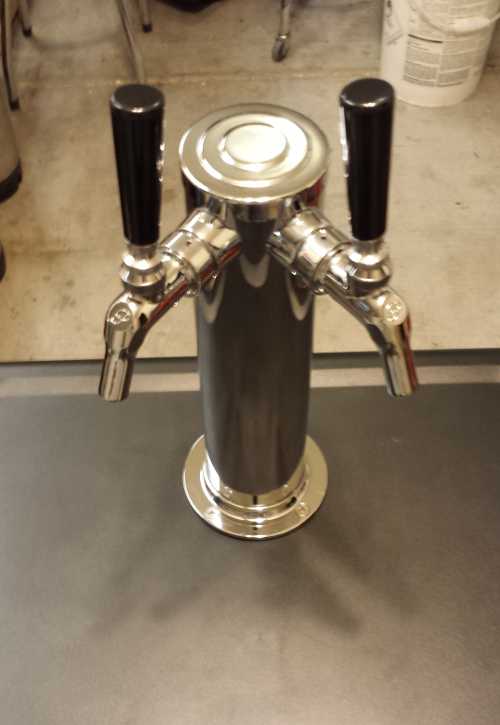
| 1 | Double Tap Draft Beer Tower- Stainless Steel- 3" Diameter with Perlick Perl 525PC Faucets | 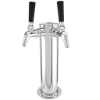 |
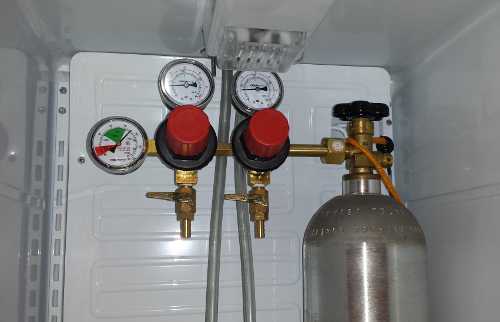
| 1 | Taprite T752HP Two Product Dual Pressure Kegerator Co2 Regulator | 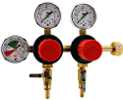 |
| 1 | 5 LB CO2 Cylinder, Aluminum | 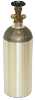 |
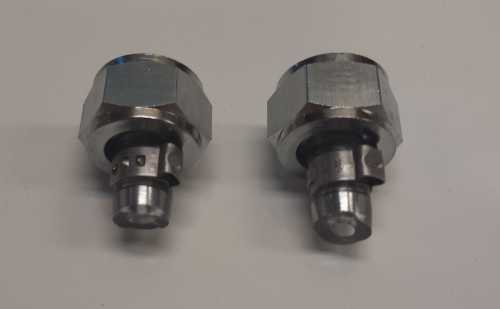
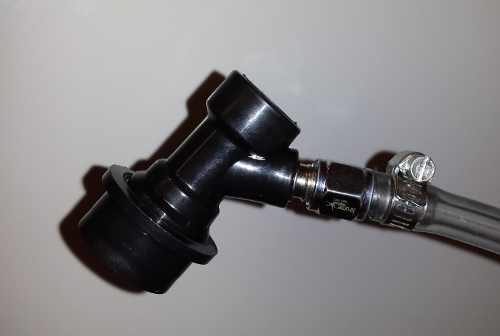
| 2 Sets | Ball lock Connectors with removable barb and flare sets. 1/4" and 3/8" | 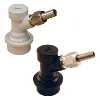 |
| 1 | 1/4 sheet (2' x 4') of 1/8" whiteboard material | 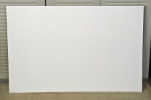 |
| 4 | #12 lock washers | 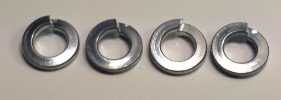 |
| 4 | 1/4-20 ID:5/16" x OD:1-1/4" Stainless Fender Washer | 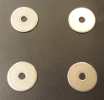 |
| 1 | 8' of 3/8" id vinyl tubing (cut in half) | 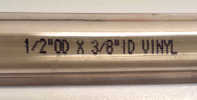 |
| 6 | 5/16" - 7/8" hose clamps | 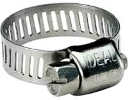 |
| 1 | Roll of 1" wide duct tape | 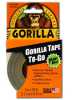 |
| 1 | Large tub of lightweight spackle |  |
| 1 | Clear or white adhesive caulk |  |
Tools:
- #2 Philips Screwdriver
- Flat Blade Screwdriver
- 8" Adjustable Wrench
- Utility Knife
- Putty Knife
- Hacksaw Blade
- Hand Saw
- Tape Measure
- 2" Hole Saw Bit
- Rotary Tool With Circular Cutting Blade
- Power Hand Drill
- 1/4" Twist Drill Bit
- Grease Pencil
- Carpenter Pencil
Instructions:
I suggest you read through the directions before beginning so you are familiar with what needs to be done. Then go back and follow each step as you build your Kegerator.
IMPORTANT: Take proper safety precautions. Always use goggles and hearing protection when using power tools. Follow all tool manufacturer's safety instructions.
Carefully unpack the refrigerator:
Remove the plastic top. First remove the 3 Philips head screws on the back of the lid:

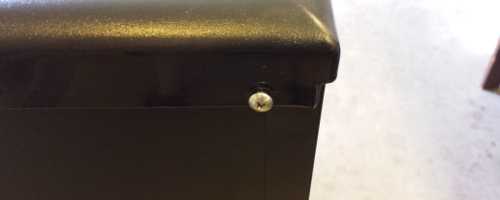
Next remove the 3 Philips head screws under the front lip of the refrigerator:
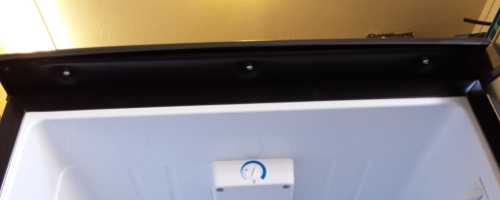
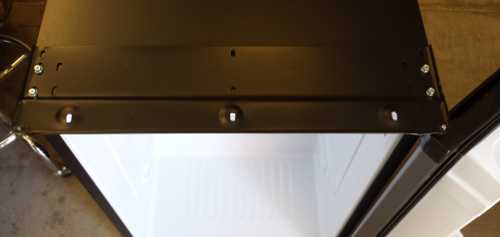
The lid will now lift off and the top of the refrigerator will look like this:
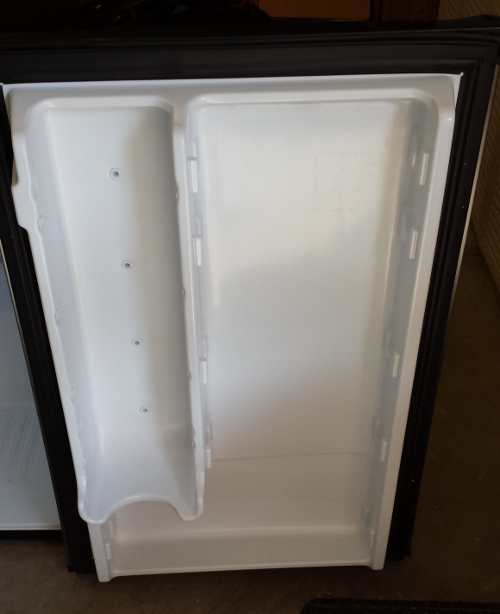
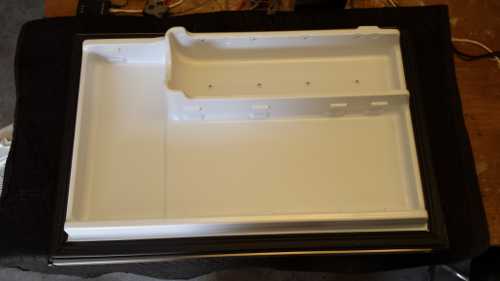
Next, remove all of the detachable parts from the door and the interior. There will be shelves, drawers, can holders, etc. Everything can be removed without tools. The door will now look like this:
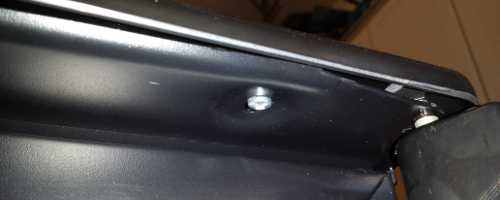
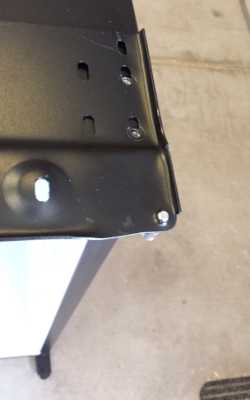
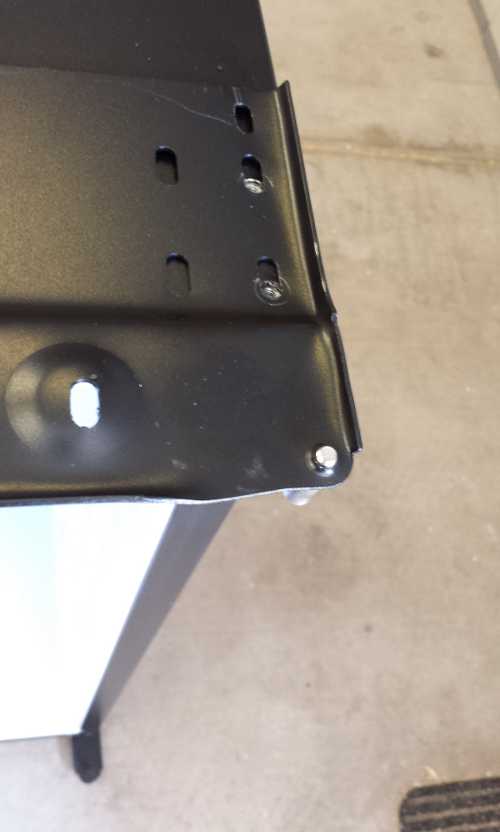
Remove the 2 screws on the right side of the top metal bracket. Don't lift up on the bracket until you have a firm grip on the door or it will fall out:
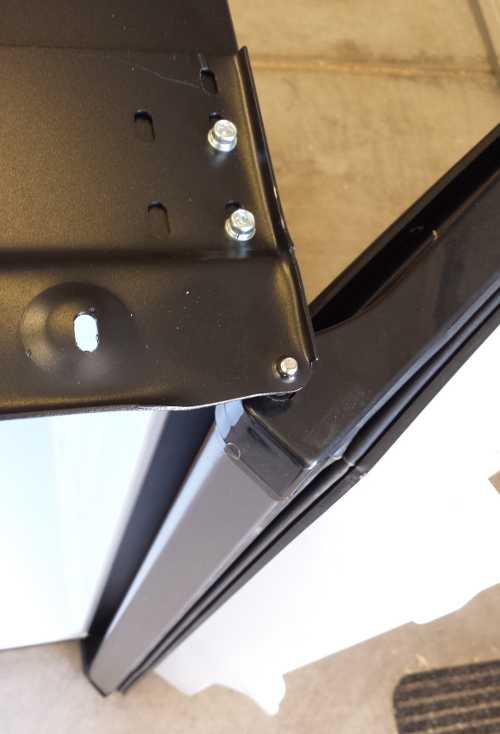
Gently lift up on the right side of the metal bracket while holding the door and the door will come free of its hinge supports:
Carefully set the door, plastic side up, on a blanket on a solid work surface:
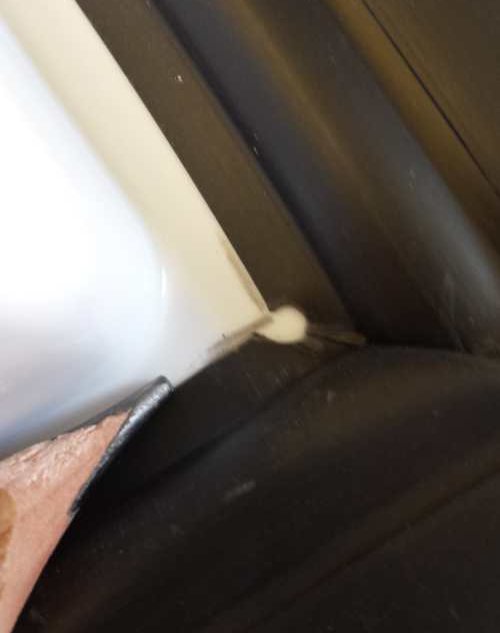
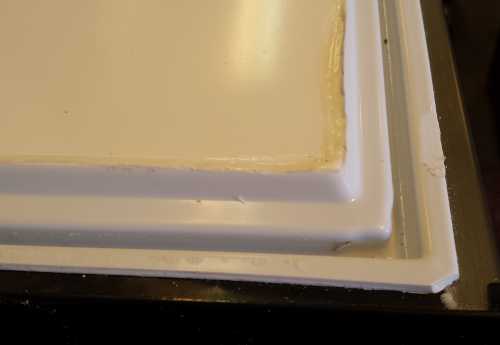
Since Danby changed the design of the door, this is admittedly the hardest part of the build. But, if you carefully follow these instructions you should end up with a professional looking door that you can make notes on with dry erase markers. Start by marking the corners of the black gasket with a pencil. This will show you that the cut you are about to make will be hidden by the gasket:
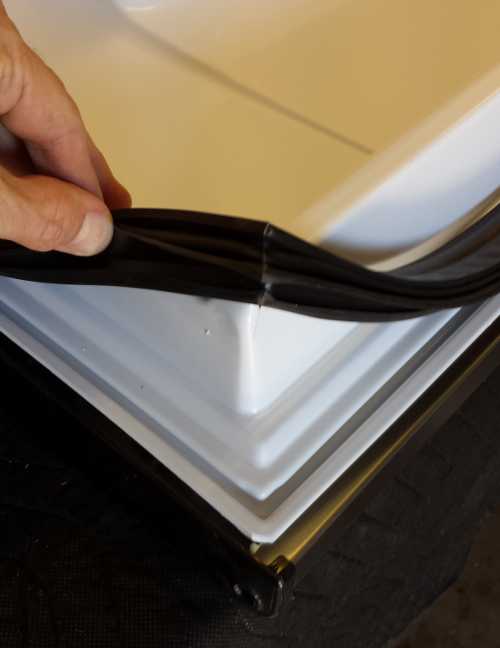
Gently pull up on the gasket and it will come out of the groove it is pressed into. Set the gasket aside, laying it flat so it doesn't develop any kinks:
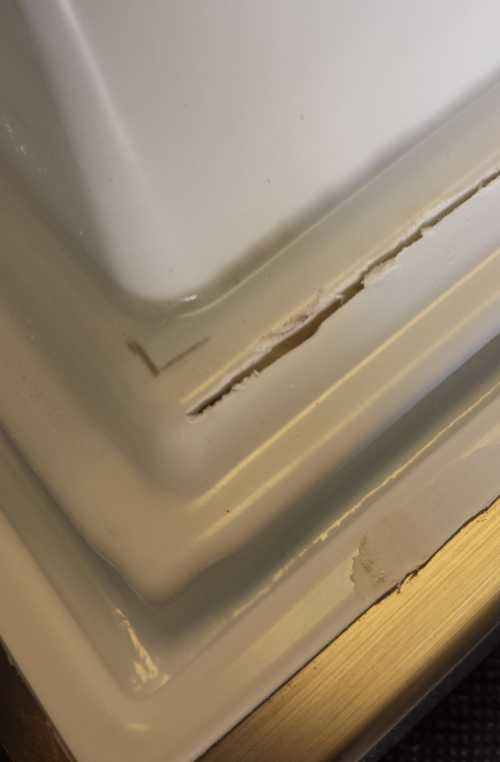
Carefully begin cutting the plastic along the ridge indicated in the photo with the Dremel circular cutting tool. I started in the lower right hand corner of the door and worked my way around. As you can see from the pencil mark, the seam you are making will be hidden by the gasket:
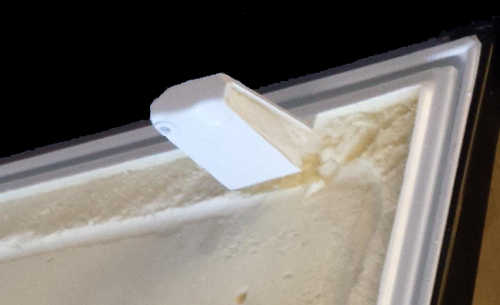
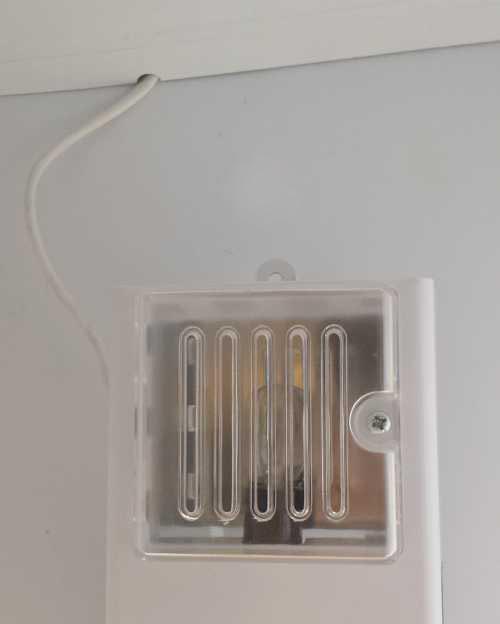
If you keep the part of the door in the upper left hand corner that pushes the light switch when the door is closed, as I did, the light will continue to operate normally. I found it easier to make those cuts around the light switch post with a utility knife:
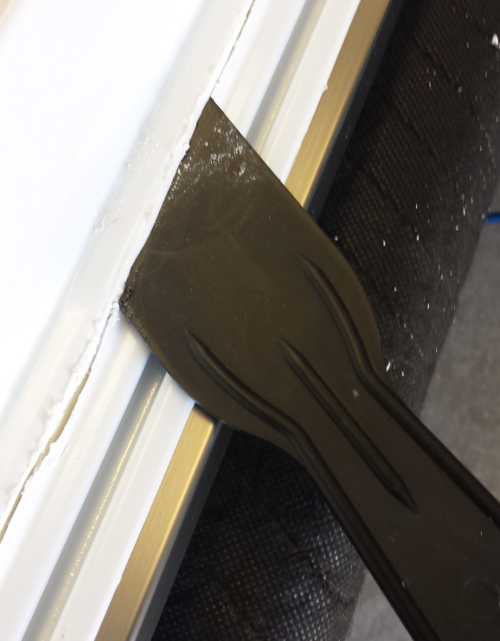
I worked a plastic putty knife into the seam as far as possible to begin separating the inside door panel from the door. The plastic door panel is stuck to the door with the insulation. Make a few passes with the putty knife, going deeper with each pass:
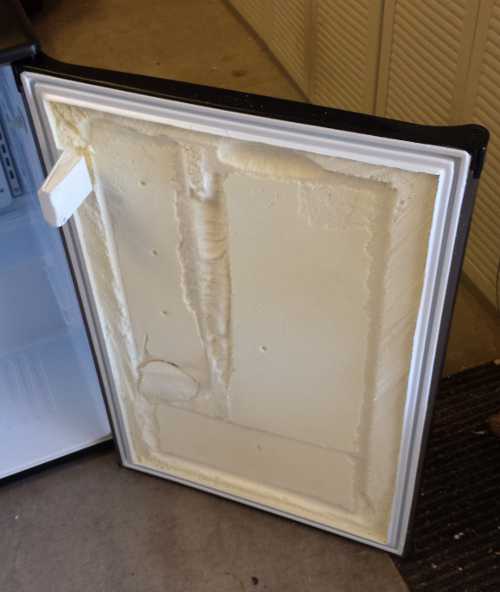
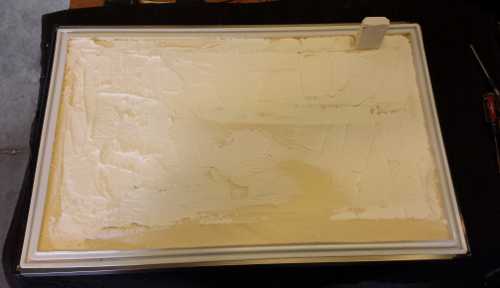
It will take a lot of force, and will possibly come out in pieces, but the plastic door panel will eventually come off. Be especially careful not to break off the light post. Remove any high spots from the insulation with a hacksaw blade:

If any big holes are left in the insulation, just super-glue the chunk back in place. You can see where I did this on the lower left side:
The next step is to fill in any low spots with low density spackle. Lay a board across the door so you can gauge how much spackle to use. You want to end up with a relatively smooth flat surface about 1/8" below the lip you created when you cut along the ridge of the door panel:
Measure and cut a 17 5/8" x 28 3/8" panel from the 1/8" thick marker board. If you've followed these instructions carefully those dimensions should be accurate, but double check, just to be safe. Make sure the spackle has dried completely, then slide the marker board panel under the light switch post and into the door panel frame:
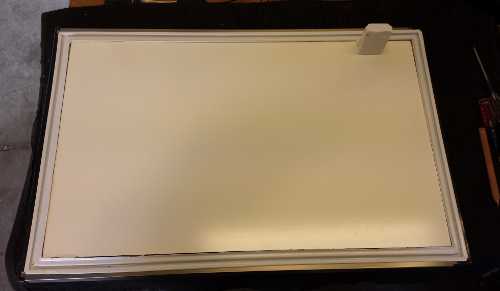
Run a bead of bathroom caulk around the edge to completely seal the marker board panel into the door frame. There was a small space between the light switch post and the marker board panel which I filled in with caulk to make it nice and solid. You may need to place something heavy, like cans of vegetables, around the edges of the panel to make sure the panel doesn't warp while the caulk is drying. Allow the caulk to completely dry:
Gently press the gasket back into the grove to complete the door. The door can now be re-attached to the refrigerator by lifting the right side of the black metal plate, sliding the door hinge posts into their holders and installing the 2 Philips head screws:
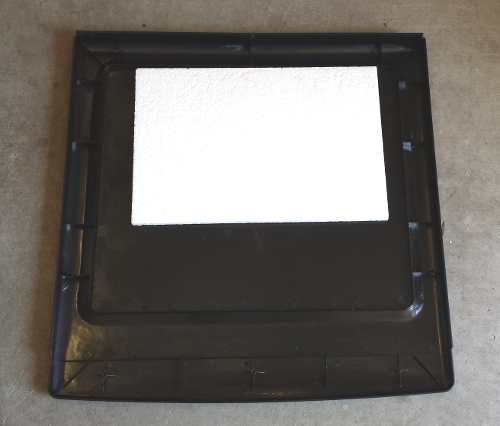
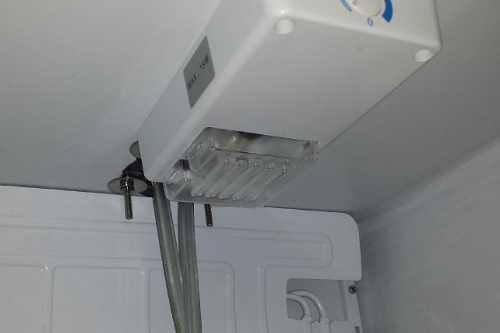
Next we need to reinforce the plastic top. As you no doubt noticed when you removed the top, it is only strengthened with a flimsy piece of Styrofoam:
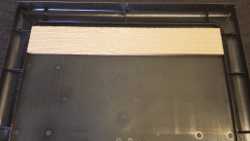
Discard that Styrofoam and find or buy some 3/8" thick wood to provide a solid support for the tower. I was able to find some 3/8" thick strips of siding from a remodeling project. Measure and cut to length with a hand saw:
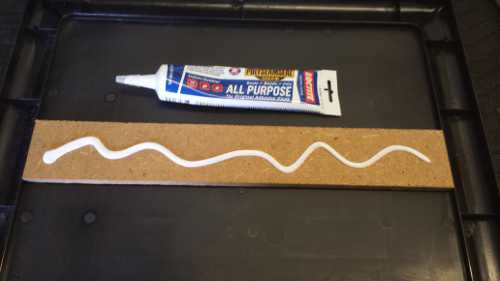
I cut enough lengths of the siding to fit in the opening on the underside of the plastic lid, and secured them with the same adhesive caulk I used for the door panel:
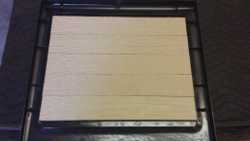
I let that dry completely and re-attached the plastic top to the refrigerator. Make sure you tighten the 3 Philips head screws in the back, before tightening the 3 in the front. This part of the build is now complete:

Remove the 3 screws holding the thermostat/light assembly to the roof of the refrigerator and let it hang by the wires:
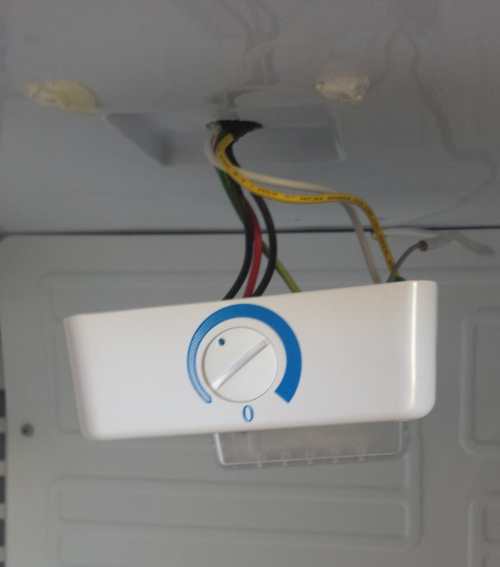
There is a wire that runs from the thermostat/light assembly to the back of the refrigerator, along the roof. Push that wire to the side as much as possible to make sure you don't cut it while drilling the holes for the tower:
On this model the Freon lines all run across the top of the refrigerator near the front, so there is no need for concern that you will cut a line when drilling through the top. I found that out by reading a lot of posts by others who have built Kegerators using this same exact model.
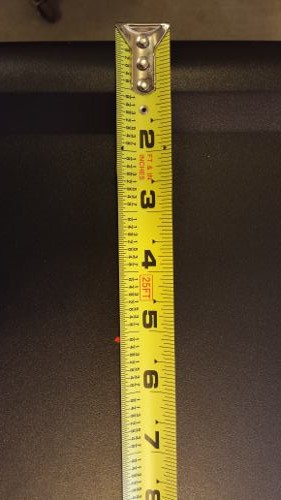
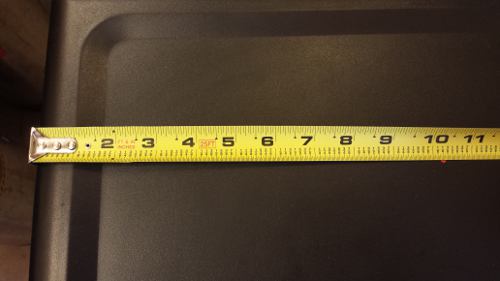
Measure 5 1/8" from the back of the plastic lid and 10 1/4" from the left side of the plastic lid. Mark that spot with your grease pencil:
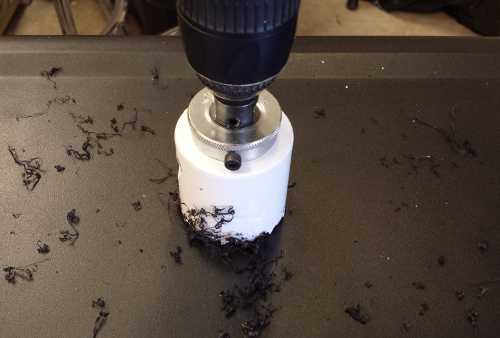
Double check these measurements. This is the location of the hole for your tower. Visually verify that the mark appears to be centered left to right. You will only have one chance to get this right. Drill the 2" hole at that spot with the 2" circular hole saw. I drilled down from the top until the pilot hole bit comes through the inside of the refrigerator. Then I removed any scraps from the 2" circular hole saw and finished the hole by drilling up from the inside of the refrigerator:
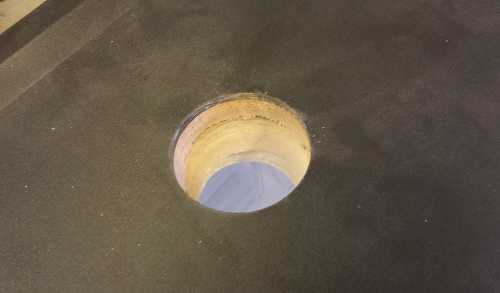
A nice clean, centered 2" hole:
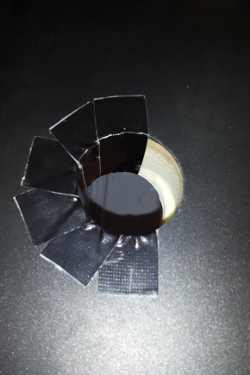
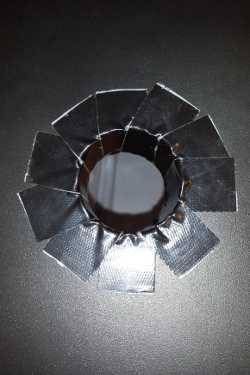
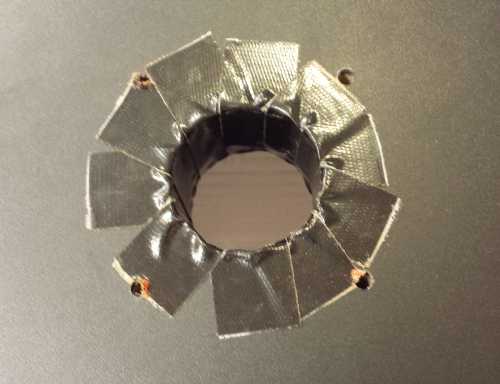
We don't want any moisture from the refrigerator to get into the insulation around that hole, so I cut strips of 1" duct tape to cover the inside of the 2" hole. Overlap each piece by about 1/2":
Center the tower over the hole, passing the beer lines through the hole. Verify by measuring from both sides that it is centered. Make sure the faucets are even and the tower is not twisted clockwise or counter-clockwise. Check by looking in the hole from below that the tower is centered back to front. This will determine where your tower goes. Stand back and make sure it is in the right spot. When you are sure it is in the right spot, mark the four holes with a grease pencil:
Drill completely through from the top with a 1/4" drill bit:
Line up the rubber gasket that came with the tower:
Since the tower is designed to be used with a Sankey (Commercial keg) connector, we need to carefully cut off the ends with our utility knife. This is a good time to do that:
In addition to the nuts that came with the bolts provided with the tower, we will be adding a lock washer and a fender washer to each bolt. The hardware will be attached in this order:
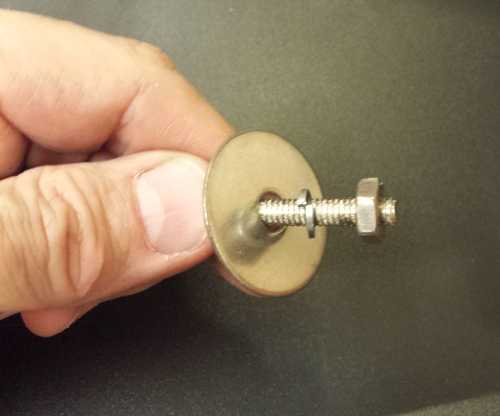
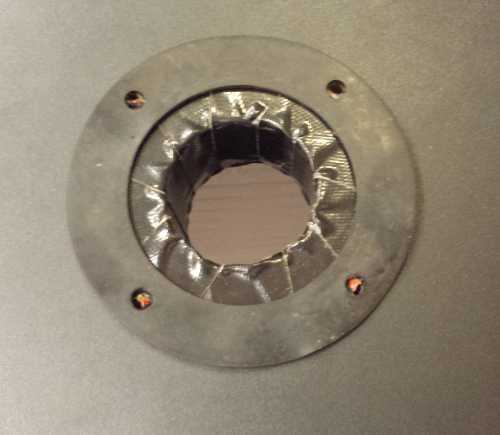
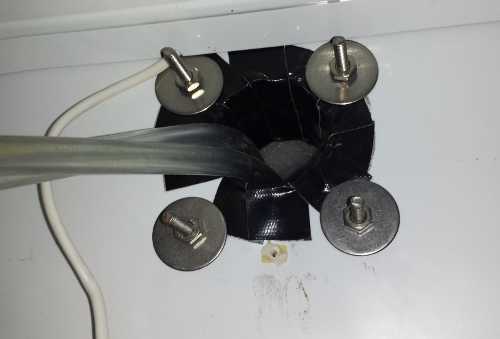
Push each bolt through from the top and attach the hardware. Tighten the nuts enough to flatten the lock washers. Don't over tighten or you might deform the roof of the refrigerator. The inside should now look like this:
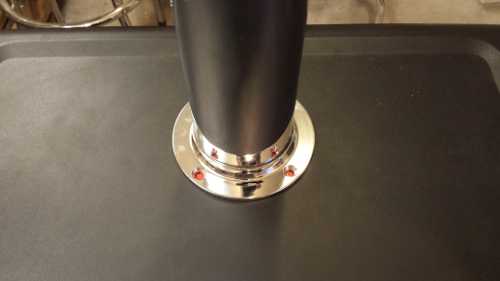
The outside should look like this:
Re-attach the thermostat/light assembly with the 3 screws removed earlier:
Next I attached the valve assembly to the 5 pound CO2 canister with an 8" adjustable wrench and I used a small bungee cord to secure the CO2 canister to the back of the refrigerator, hooking onto the right track provided for the trays we removed:
I secured the black "beer" ball lock connectors to the product lines running through the hole from the tower with small hose clamps. Make sure the barb connectors are tight on the ball lock connectors before securing the tubing with the hose clamps:
Cut the 8' length of 3/8" id vinyl tubing in half so you have two 4' gas lines. Attach one end to the valve with a hose clamp and the other end to the grey "gas" ball lock connector with a small hose clamp, again making sure the barb connectors are tight on the ball lock connectors:

Check all of the CO2 connectors for leaks by opening the CO2 valve on the top of the canister and also opening the two shut off valves right where you attached the gas lines. Adjust the pressure on both regulators to about 10 PSI. Use soapy water to check for leaks where the valve assembly attaches to the canister and where the gas lines attach to the valve assembly. Put the grey ball lock connectors in a glass of plain tap water, one at a time, and look for bubbles. Tighten any leaky connectors.
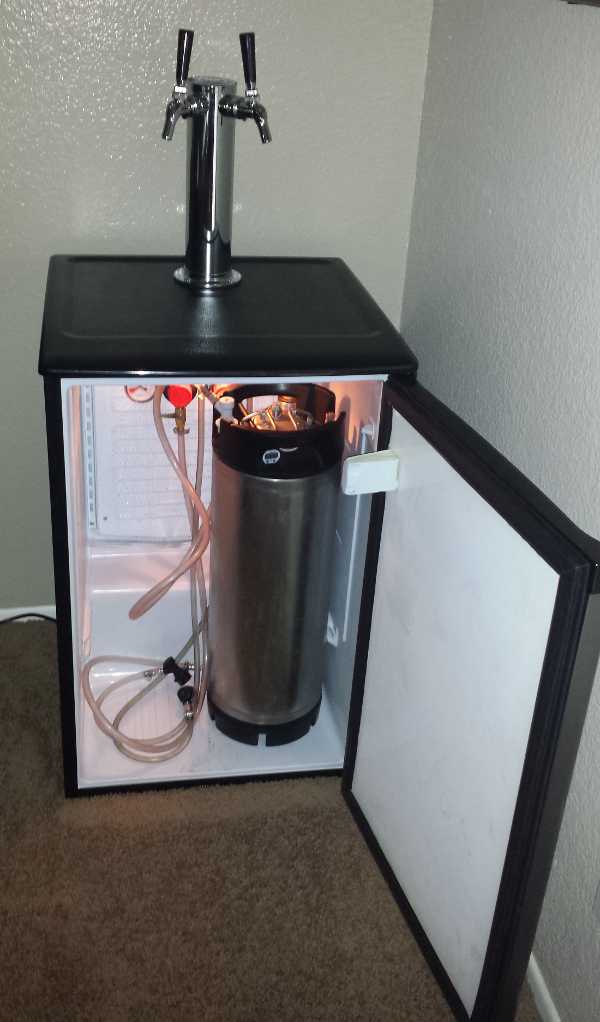
You are all done! Your Kegerator is complete:
Please check back soon. My next project is a tower cooler, because nobody likes the first beer of the day to be warm and foamy!