
Project: Hot Weather Brew Buddy
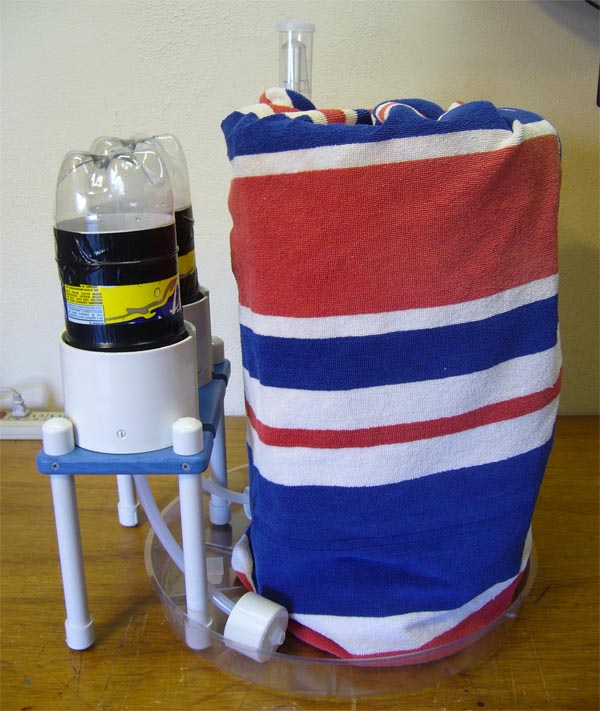
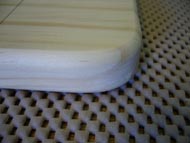
Many home brewers only brew ale in the winter months due to high indoor temperatures. Most ale's require the fermenting bucket to be kept at around 68 degrees Fahrenheit, but typical hot weather indoor temperatures are around 78 degrees. Much too high for proper fermentation. But, by wrapping the fermenting bucket completely in a beach towel and setting it in a tray full of water, a temperature of 68 degrees can easily be maintained, thanks to evaporation. The water in the tray will keep the beach towel wet. As the water evaporates, the temperature drops about 10 degrees Fahrenheit, making 78 degrees in the room 68 degrees in the fermenting bucket. The perfect temperature for brewing ale!
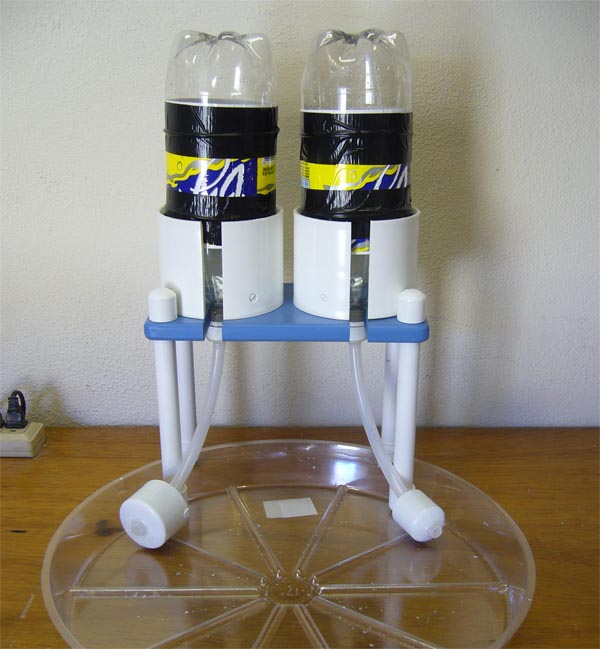
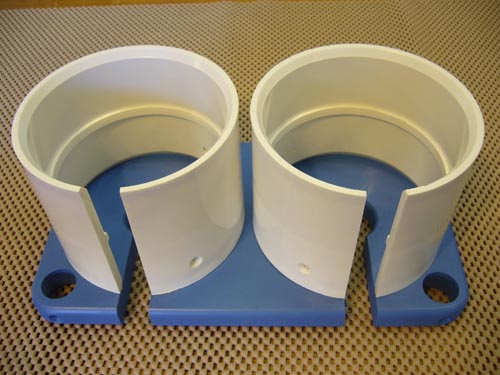
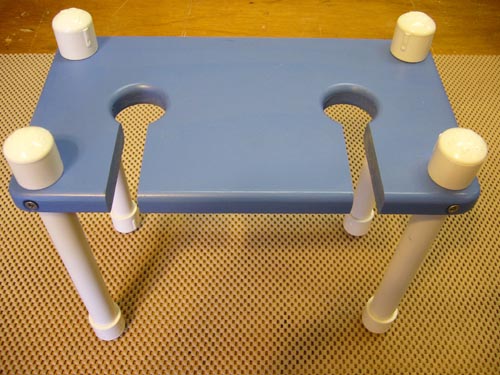
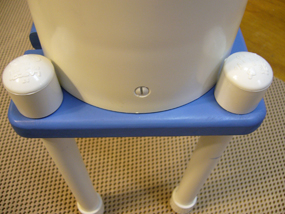
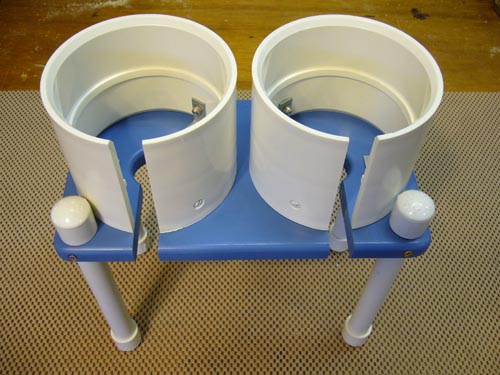
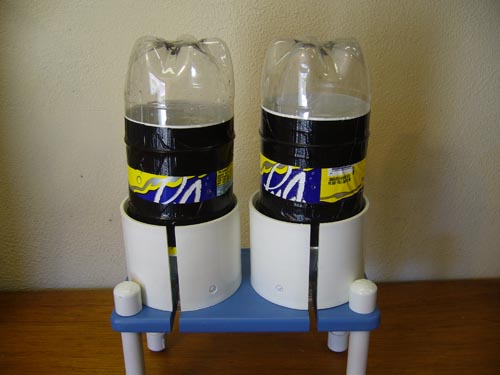
But, the water will evaporate fairly quickly, so it needs to be checked and replenished twice a day. Now that's not a great hardship for a hard core home brewer, but I have a way to turn that twice a day chore into a once every couple of days chore, the Hot Weather Brew Buddy. It continuously replenishes the water lost due to evaporation from two 2 liter soda bottles. This is how the Hot Weather Brew Buddy will look; ready to go to work, with a fermenting bucket wrapped in a beach towel:
How it works:
When the water level goes below one of the feed tubes, air can go up the tube. The air goes up allowing water to go down, until the water in the tray once again covers the end of the feed tube, preventing any more air from entering. The two feed tubes are held at different heights, by different sized PVC end caps, so that one bottle will completely empty before the other takes over.
What will you need to build the Hot Weather Brew Buddy? A few basic items from the local home improvement store and basic tools are all you'll need. The Hot Weather Brew Buddy is not a precision piece of equipment, so if your cuts aren't precise, don't worry about it, it will still work just fine. Remember, it's probably going to be in a spare bedroom, out of site anyway.
Parts List:
| Quantity | Description | Photo |
|---|---|---|
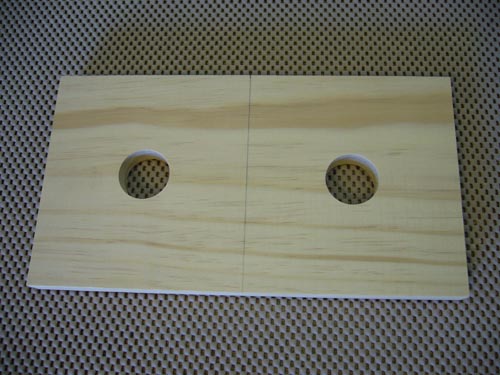
| 1 | 11" x 6" x 3/4" piece of lumber. Any common type of wood will work. | 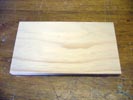 |
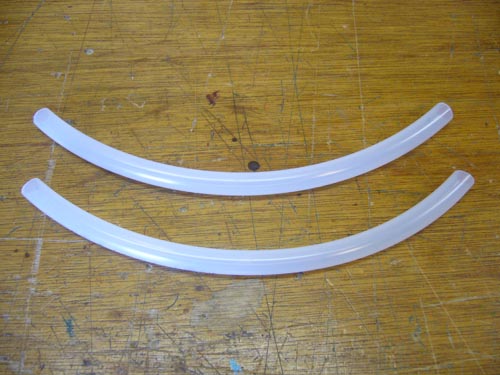
| 36" | 1/2" schedule 40 PVC pipe |  |
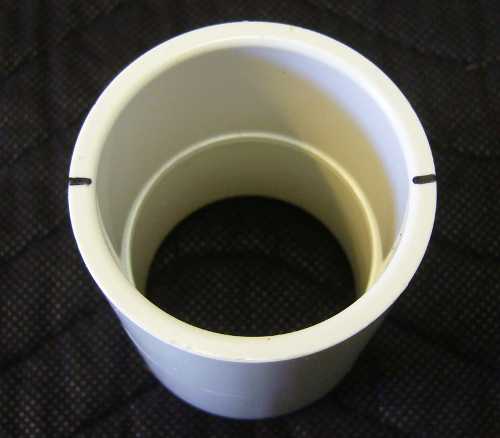
| 2 | 4" PVC couplers | 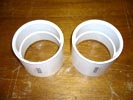 |
| 8 | 1/2" PVC end caps |  |
| 1 | 17" plastic plant tray |  |
| 6 | 1" corner braces |  |
| 6 | 1/2" white wall plate screws (6-32) |  |
| 6 | 6-32 acorn nuts |  |
| 6 | #6 lock washers |  |
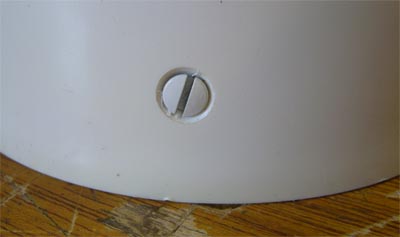
| 1 | 2" PVC end cap (See Note Below) |  |
| 1 | 1 1/2" PVC end cap (See Note Below) |  |
| 2 | Empty 2 liter soda bottles |  |
| 2 | 1/2" OD x 3/8" ID plastic tubing |  |
| 36" | Steel Wire |  |
| Epoxy (6 Minute GEL) |  | |
| 2" wide Duct Tape |  | |
| PVC cement |  | |
| Acetone (optional) |  | |
| Spray paint (optional) |  | |
NOTE: If you plan on building the Rain Ring addon, use these instead of the 2" PVC end cap & 1 1/2" PVC end cap:
| Quantity | Description | Photo |
|---|---|---|
| 2 | 1 1/2" PVC Couplers | 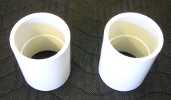 |
Tools:
- Power Hand Drill
- Drill Press (Optional)
- Drill bits (11/64", 9/64", 7/64", 3/32", 1/8")
- Countersink
- Hand Saw
- Flat Blade Screwdriver
- #2 Philips Screwdriver
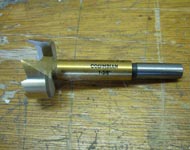
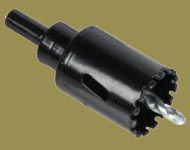
- Forstner Bits (1 3/8", 7/8", 1/2")
or
Hole saws (1 3/8", 7/8") and a Step Drill Bit - Utility Knife
- Sand paper
- Tape Measure
- Router (optional)
- 1/4" round over router bit (optional)
- Jig saw (optional)
Instructions:
I suggest you read through the directions before beginning so you are familiar with what needs to be done. Then go back and follow each step as you build your Hot Weather Brew Buddy.
IMPORTANT: Take proper safety precautions. Always use goggles and hearing protection when using power tools. Follow all tool manufacturer's safety instructions.
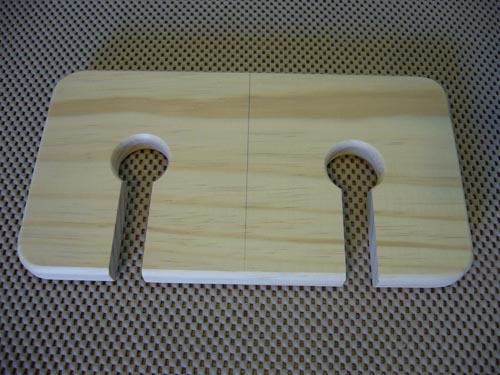
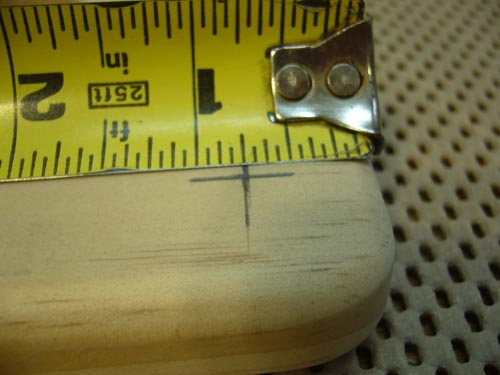
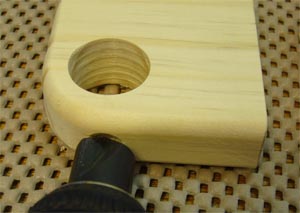
Measure to the middle of the platform, which should be 5 1/2", and draw a line. Find the center of each half by drawing from opposing corners. This is where the holes go for the 2 liter bottles to poke through the platform.
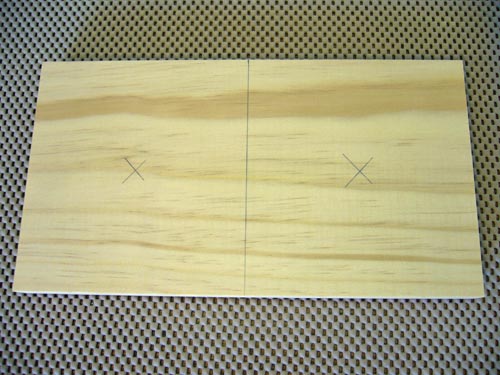
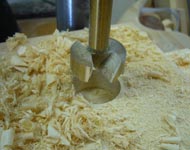
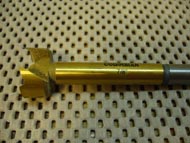
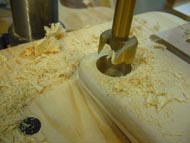
Drill a 1 3/8" hole at each X. I used a 1 3/8" Forstner bit in a drill press, but a simple 1 3/8" hole saw in a hand drill will work just fine. Make sure you place a piece of scrap wood under the platform when drilling, to protect your workbench. Clamp everything down to prevent ingury.
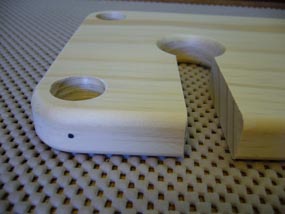
When you're done it should look something like this:
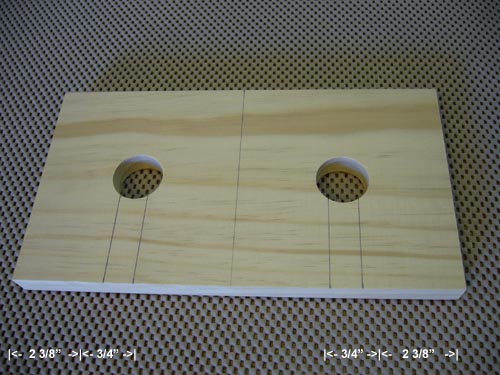
Next, measure for the slots that the tubing will pass through when you put the bottles on, and take them off the platform.
Draw a line 2 3/8" from each edge and 3/4" from each of those lines. This marks the slots. They should be centered on the holes you just drilled:
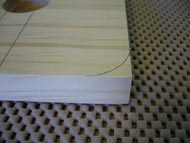
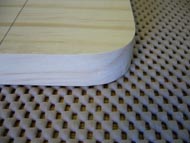
I chose to round the corners of the platform with a jig saw and round the edges with a router and 1/4" round over bit. This is totally optional, it will work just fine without round corners. If you choose to do this step, it is easier to do the routing before cutting the slots in the wood, so do that part now:
Next cut the slots in the platform:
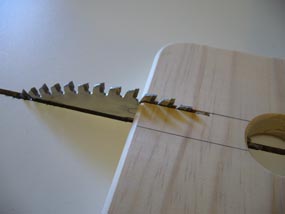
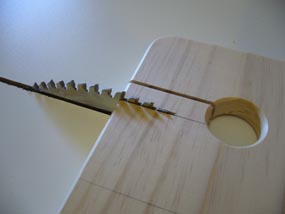
I chose to use a table saw. Most any hand saw will do the job. Remember it doesn't have to be perfect. Now the platform looks like this:
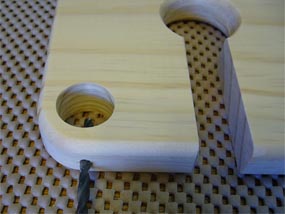
Next we need holes for the legs. Draw a mark 3/4" from each edge in both directions, on all four corners:
I used a 7/8" Forstner bit in a drill press, but a 7/8" hole saw in a hand drill will work just fine. Make sure you place a piece of scrap wood under the platform when drilling, to protect your workbench. Clamp everything down to prevent ingury.
When you are done the platform should look like this:

Next place a mark on the edge of the platform next to each corner hole. This is for screws that hold the legs in place. I didn't measure these since they just need to be close. Then, drill an 11/64 hole where the marks are. Do all four corners:
We'll be using 4 of the 6 unused screws that came with the 1" corner braces. So, we need to counter sink the holes so the flat head screws don't protrude:
When you're done it should look like this:
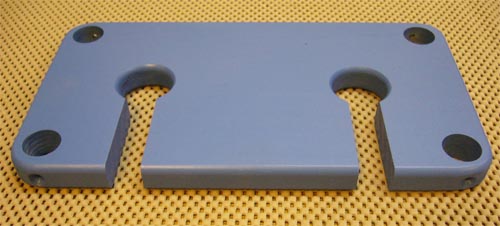
I had some blue spray paint left over from another project, so I decided to paint my platform. This is another optional step. The platform is done!
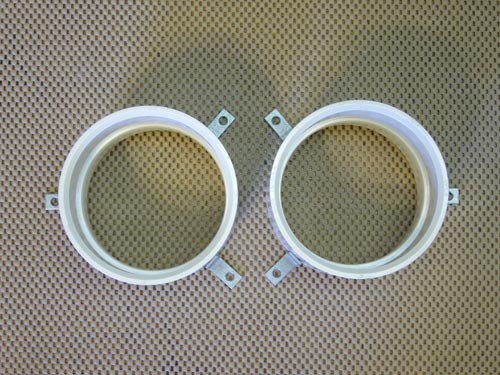
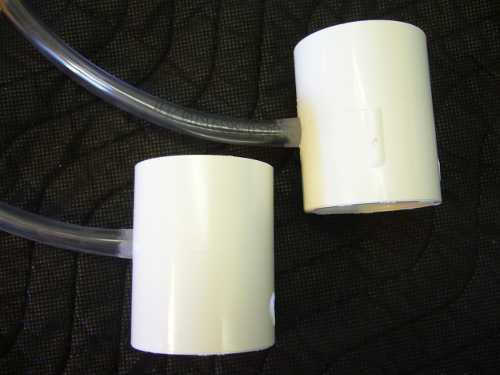
That's it for the wood working portion of the project. Now we need to work on the 4" PVC couplers used to support the bottles.
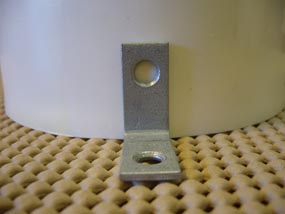
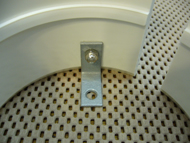
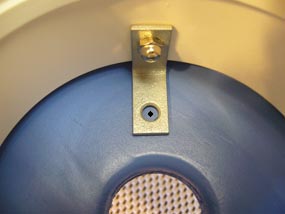
First we'll drill the holes for the corner braces. Set the two 4" PVC couplers on your workbench and arrange the 6 corner braces like so (they are just sitting next to the couplers so we can mark where the holes will be going):
The corner braces will go on the inside, but it's easier to mark where to drill the holes from the outside.
Use a felt tipped pen to mark the center of each hole, like this (try not to move things around while you are marking the holes):
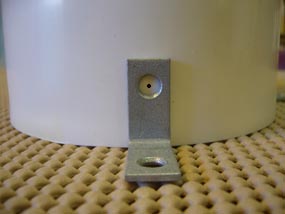
Using a 9/64" bit in a hand drill, drill 3 holes in each of the 4" PVC couplers where the marks are. Countersink each hole, using one of the 1/2" white, wall plate screws to gauge the countersink depth:
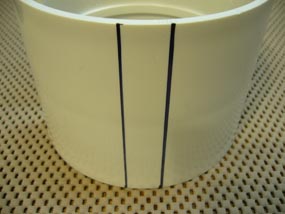
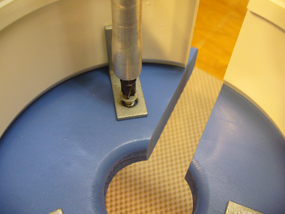
Now it's time to cut the 3/4" slots in the 4" PVC couplers. Set the 4" PVC couplers on the platform, keeping the holes in roughly the same position they were in when we marked the screw holes. Notice the coupler is about 1/16" away from each of the leg holes. This is to make room for the end caps that go on the tops of the legs. Mark where we need to make the cuts with a felt tipped pen:
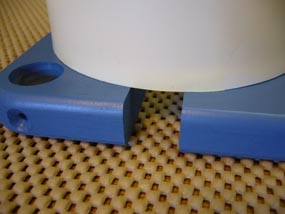
Use this finished picture as a reference for positioning the couplers to mark the slots. Notice the position of the screw holes.:
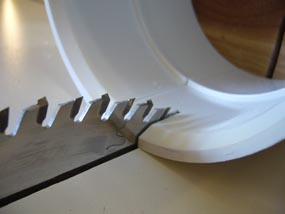
I used a table saw, so I just needed to copy the marks around to the end, so I could line up the blade, but if you will be using a hand saw, you will probably want to extend the marks to the other end of the coupler:

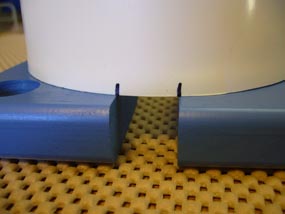
Go ahead and cut the slots in both couplers:

Done:
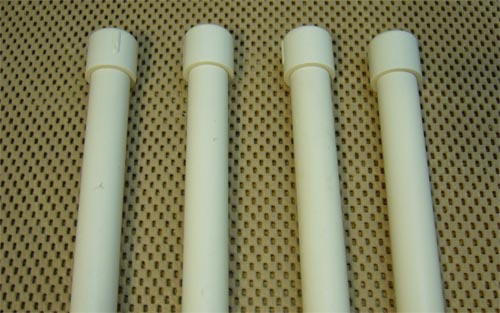
The legs are next. Cut four 9" lengths of the 1/2" PVC pipe:

NOTE: I use acetone on a paper towel to remove any of the black printing from the PVC parts before I assemble them. It gives the project a cleaner look, but is certainly not required.
Using the PVC cement, glue an end cap on one end only of each leg. Make sure the cap is seated all the way down on the pipe, by pressing down firmly while the glue is still wet. Tapping it with a rubber mallet helps. Only apply the cement to one end cap at a time. You don't need to apply any cement to the pipe itself, just to the inside of the end cap. PVC cement sets up in seconds, so you won't have much time to work:
This is how they should look:
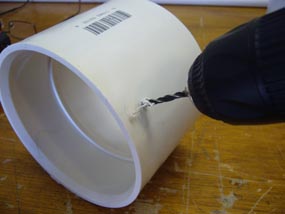
It's important to do the next step properly. One at a time, slide a legs all the way down from the top of the platform. Making sure the end cap is in contact with the platform, drill a 7/64" hole into the PVC leg, through the 11/64" hole. This is the pilot hole for when we attach the leg to the platform with the flat head screws. But, it needs to be drilled now so when we attach the bottom end cap, the trapped air has some way of escaping. Otherwise, the bottom end cap would keep popping off, making it difficult to keep it seated all the way on the pipe, while the cement sets up:
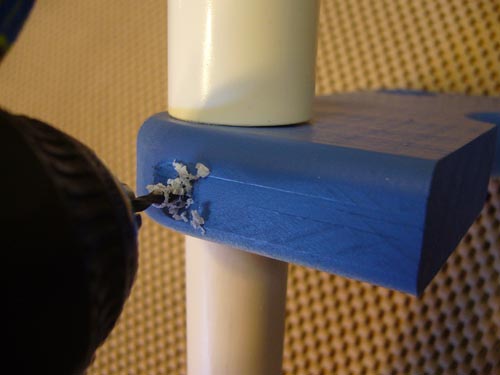
Don't remove the legs from the platform. Each corner will be slightly different, so you don't want to put them in different corners after the pilot holes have been drilled. Don't screw them in at this point, either. That would plug the vent hole, plus the bottom end caps are easier to glue on if the legs are free floating in the platform.
One at a time, glue an end cap on the bottom of each leg, pushing it firmly onto the pipe until it stops, as you did with the tops of the legs. It should now look like this:
Now push the legs down until the top end cap is touching the platform and rotate the leg until you can see the pilot hole in the PVC through the small hole in the wood. Install a flat head screw. Do not over tighten, or you might crack the wood. Tighten just enough so that the legs aren't loose. Repeat for all four legs. It should now look like this:
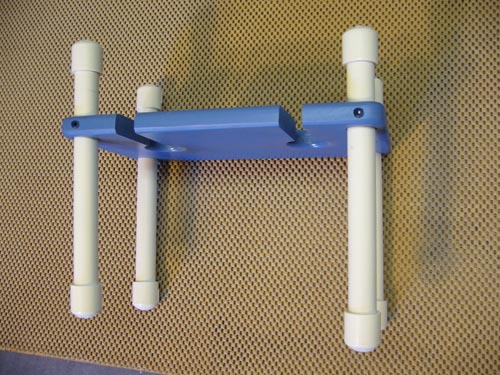
Now we get to mount the couplers (Bottle Holders) onto the platform.
Inside each coupler position a corner brace by each of the 3 holes. Push a 1/2" white wall plate screw through the holes from the outside and through the corner brace. Use a #6 lock washer and a 6-32 acorn nut to secure each corner brace. Tighten until the corner braces don't move. It should look like this when you are finished:
 One corner brace inside the coupler | 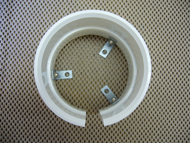 From the top | 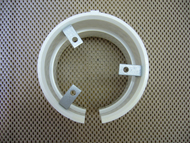 With coupler flipped upside down |
Place the couplers on the platform. Make sure the couplers are touching the legs and the slots in the couplers are lined up with the slots in the platform. It should look like this:
 Side | 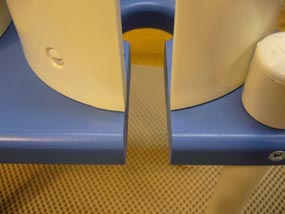 Front |
Mark the center of each hole with a felt tipped pen. After marking all 6 holes, remove the couplers:

Use a 3/32" bit in a hand drill to drill about 1/2" into the wood where the marks are. Try not to go all the way through, and keep your fingers clear. Don't worry if you drill all the way through, it will just make a mark on the bottom of the platform:

Put the couplers back on the platform and line up the holes and the slots. Use 6 of the screws that came with the corner braces to secure the couplers:

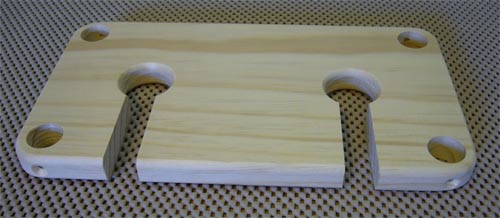
This part of the project is complete. Set it aside:
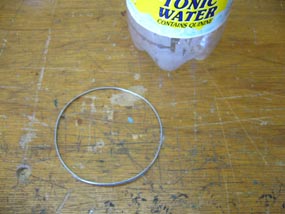
Now we have to reinforce the 2 liter bottles. These soda bottles were designed to contain a liquid under pressure, the carbonation. When we fill them with water and they start to drain into the tray, they will collapse from the negative pressure inside the bottle. So we have to give them a bit of a skeleton. We'll be wrapping two stiff pieces of wire around the bottle and keeping them in place with some 2" duct tape.
Start by wrapping the wire around the bottle, allowing an inch or two of overlap. The wire ring should look like this and should slide easily onto the bottle:
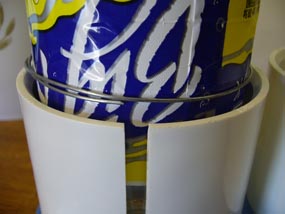
One wire ring should go about an inch down from the top of the label and the other an inch up from the bottom of the label. The positioning isn't critical. Just cover the rings with the duct tape to keep them in place:
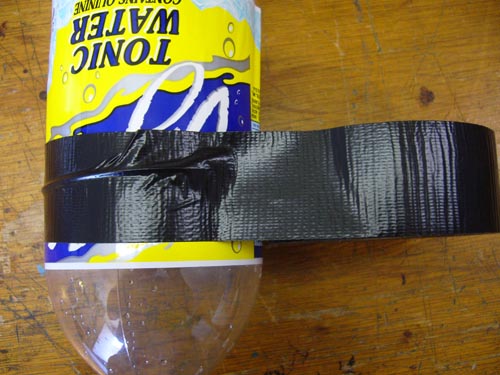
When you're done they should look something like this:
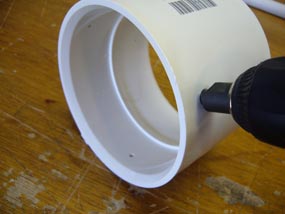
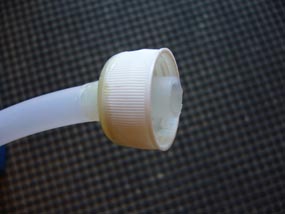
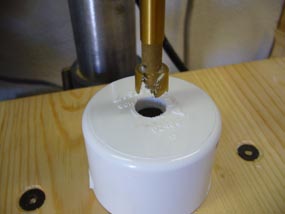
Ok, the only thing left to do is attach the tubing to the bottle caps and the PVC end caps. We need to drill a 1/2" hole in the center of each bottle cap. I used a 1/2" forstener bit in a drill press, but you can easily do this with a step drill. Just drill a 1/8" pilot hole in the very center, first.

Next we need to cut the 1/2" plastic tubing into two pieces 11" long. Carefully measure and cut with a utility knife:
In order to get a good seal when we epoxy the tubing to the caps, we need to rough up the surfaces with a bit of medium grit sandpaper. Just sand the tops of both bottle caps and rough up about an inch on both ends of each piece of tubing:
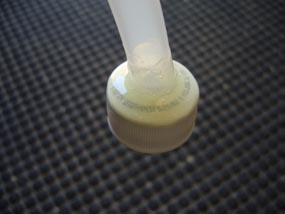
It's time to epoxy the tubing and caps together. Mix up a small amount of epoxy in the bottom of a paper cup. I clean and save used popsicle sticks for this purpose, but any small strip of wood will work. Push the tubing through the top of the bottle cap until it is just sticks out past the opening. Coat the outside only with epoxy. Repeat for the other tube & cap:
If you ARE NOT planning on adding the Rain Ring, perform the next 2 steps. If you ARE planning on adding the Rain Ring at a later date, jump here.
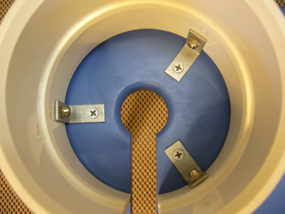
Now we need a 1/2" hole in the very center of the 2" PVC end cap and the 1 1/2" PVC end cap. The process is the same as for the bottle cap:
 2" PVC End Cap | 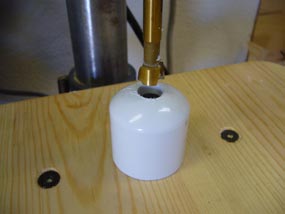 1 1/2" PVC End Cap |
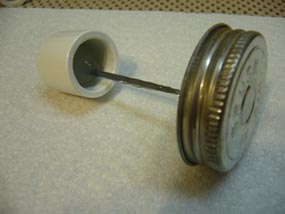
Once the epoxy securing the bottle caps to the tubing has cured, mix up another small batch for the other end of the tubing. One at a time, push the tubing trough the open end until it pokes out the top by about 3/8". As you can see, when the tubing comes straight through the hole, and is not at an angle, it will exit the opening close to one side, due to the curl it has from being rolled on the spool. This is actually what we want. It causes everything to line up just right when we attach the tubing to the bottles.
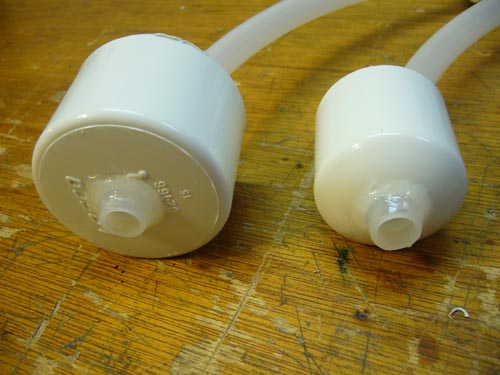
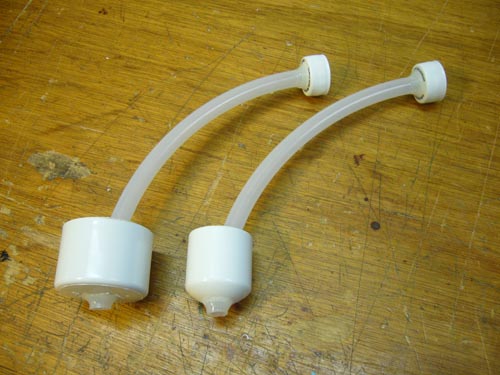
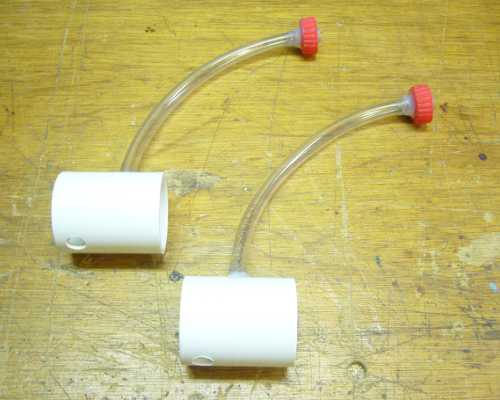
The finished tubing sections should now look like this:
Click here to continue.
This alternative to the end caps (above) causes the water level in the tray to be higher, which is required to keep the Rain Ring fountain pump submerged. Continue with these instructions if you ARE planning on adding the Rain Ring at a later date.
Using a sharpie pen, make two small marks on one edge of both 1 1/2" PVC couplers, like this:
On one of the couplers, measure down from one mark 1/2" and from the other mark measure down 1 3/8". Mark these locations with your sharpie:
 1/2" from one mark |  1 3/8" from the other mark |
On the second coupler, measure down from one mark 1/2" and from the other mark measure down 1 9/16". Mark these locations with your sharpie:
1/2" from one mark |  1 9/16" from the other mark |
Now we need to drill 1/2" holes at the two spots we marked on each PVC coupler. We'll be drilling a total of four 1/2" holes. I used a 1/2" forstener bit in a drill press, but you can easily do this with a step drill. Just drill a 1/8" pilot hole at each dot, first:
 1/2" Forstner bit |  Step Drill bit |
When you're done the PVC couplers will look like this:
 Front | 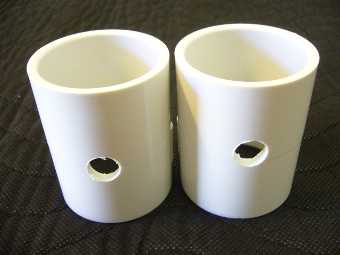 Back |
Now we just have to epoxy the tubing, coming from the 2 liter bottles, to the PVC couplers. Rough up the last inch of tubing, and around the holes in the back of the couplers, with sandpaper. Push the tubing through the holes in the back of the couplers. The correct holes are near the middle of the couplers (right photo, above), not the ones close to the edge. The tubing only needs to poke through about 1/4", like this:
The natural curve of the tubing should be up. Notice the position of the holes on the front (right side in this photo) of the PVC couplers. Make sure your couplers look like this before proceeding:
Mix up a small amount of epoxy in the bottom of a paper cup. I clean and save used popsicle sticks for this purpose, but any small strip of wood will work. Coat the outside only, where the tubing enters the PVC coupler, with epoxy. When you're done, they should look like this:
Wait for the epoxy to cure before proceeding.
That completes fabrication of the Hot Weather Brew Buddy!
Next we test the system. Before putting any water in the bottles, screw the bottle caps on and set it up. It should look like this:
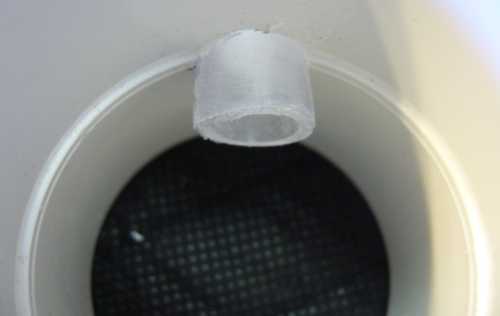
Add water to the tray until it just touches the bottom of the lower piece of tubing (shown on the right). Remove that bottle from the platform and fill with water.
IMPORTANT: Do not fill the bottles completely. For whatever reason, water will not flow from the bottles unless there is air already in them. So, only fill the bottle just to the top of the label.
Screw the cap back on and hold your finger over the end of the tubing as you place it back on the platform. Water should immediately start flowing from the bottle as soon as you remove your finger.
The water should flow (glug) from the bottle until the level reaches the top of the tubing, preventing any more air from entering the bottle.
Now repeat the process with the other bottle. The water should immediately start flowing from that bottle until the level reaches the top of its tubing.
As you can see, whenever the water level drops a bit, from evaporation, the one bottle will replace the missing water. When that bottle empties, the other bottle will take over. This should give you about 2 days of hot weather brewing before you'll need to refill the bottles.
I would check the system twice a day at first, to make sure it is functioning properly, until you are confident that your Hot Weather Brew Buddy is keeping you tray full of water. This will keep the beach towel wet and cool, and your fermenting ale happy!
If you find that the top portion of the towel is not staying wet, you might experiment with different towels. Some seem to wick the water up to the top better than others. If you just can't find one that works for you, please check out my second project, the Rain Ring Addon to Brew Buddy.